Hello Stampers ~ I was Playing with Paper Pumpkin and came up with a few cards!
Well yesterday I got my butterfly bushes cut back as well as my grasses. It did not take as long as I thought it would and that is why I got the grasses cut back also. I even had lots of time to play in my craft room. I got 3 of my workshop cards for next month designed and completed as well as a few cards for my blog. I even sent a reminder for my Learn Something New class as well as I have my newsletter scheduled to go out this morning. If you are not getting my newsletter, there is still time to sign us using the form on the right.
I went to a craft day last weekend. Since it was the same day as Zoie’s birthday party, I just grabbed my March Paper Pumpkin as well as last year’s March Paper Pumpkin. I managed to make all of the items in the 2017 kit and still have some items left over. I used the 2016 kit and made a bunch of other cards. I still have some pieces left so I will see what else I can come up with at a later time. Here are a few of the card that I came up with using the 2016 kit. Warning this post is photo heavy!
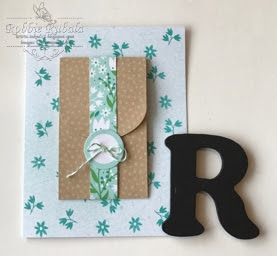
For my first card I used one of the little pouches. I used a card base from the kit and stamped it with the stamp set in the kit. This kit was one that had an extra stamp set. I took a strip from the kit and wrapped it around the pouch. I then attached this pouch to the card front using tear & tape. I used one of the circle stickers from the kit to hold the strip closed. To finish it off I added a little bow using the twine in the kit. Here is the front of the card.
I needed something to go inside the little pouch so I used one of the note cards from the kit. I cut the front off the note card and used it vertically rather than horizontally. I stamped it with the sentiment from the kit. Here is what the card front looks like with the pouch open.
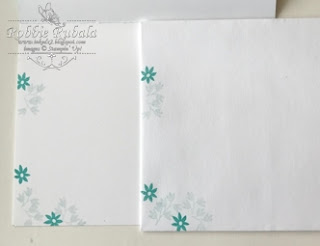
Here is the inside of the card and the envelope.
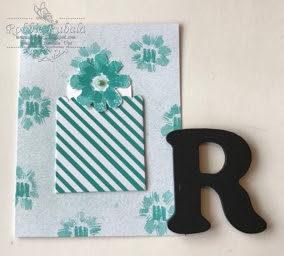
Here is my second card. For this one I again used a card base from the kit. Then using the extra stamp set I stamped the flower all over the card front. There was a punch out that I chose to use and to make an open pocket. I scored the striped punched piece on 3 sides at 1/4 inch. I applied tear & tape to the scored pieces. This pocket was then attached to my card front. Here is what the card front looks like.
To have a little pull out, I used the back of the note card from above to make my panel. The I stamped it with a sentiment from Tin of Cards. I then stamped the flower from the set and cut it out. I attached it to the top of the tag using glue dots making sure that the bottom of the flower is not attached so that it will fit on the outside of the pocket when the tag is inserted. Here is the card front with the tag pulled out.
Inside of card and envelope
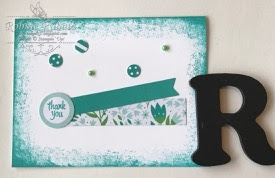
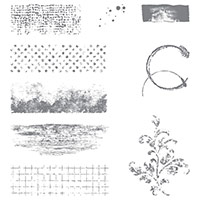
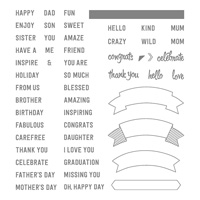
Here is my final card for today. For this one I used a Whisper White card base that used my supplies. I used the Timeless Textures around the edges. I then used the banner from the kit and a piece of the strip to add to the front of the card base to form a banner. I used one of the circle stickers and stamped it using the sentiment from Thoughtful Banners. Then using the 1/2 inch circle punch I punched some circles. These were attached to the card using glue dots. To finish off my card I added some of the pearls from the kit. Here is my finished creation.
inside of card and envelope
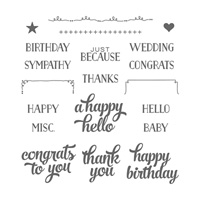
Stampin’ Up supplies used in my creations
Thanks for visiting me today and I hope I inspired you. These cards are easy to recreate using the supplies you have in your craft room. Give it a try. Have a Marvelous Monday and if you have any older kits take some time to do some Playing with Paper Pumpkin!
Robbie

