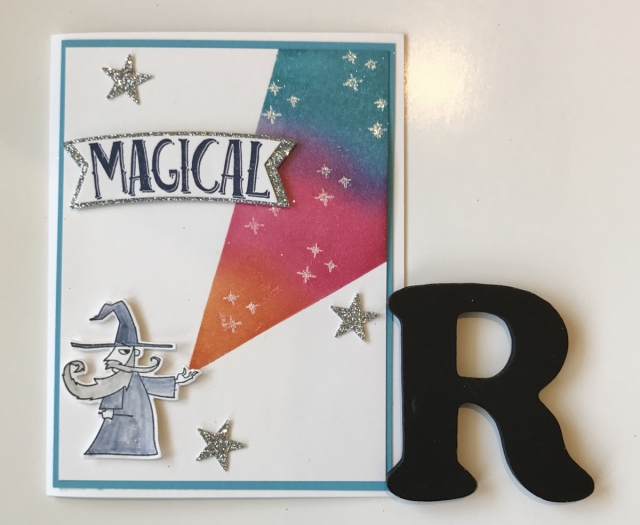
Happy Monday Ladies ~ I am so excited to share my Magical Day Wizard creation with you today.
Well I got my class almost finished yesterday. I have a few more tweeks to it and hope to have it ready to go later today. Make sure you check back to see the class. Have you checked out my Mixed Bag offerings here? These papers will all retire at the end of this month. If you have been wondering about them or wanted a chance to play with them, this is the perfect opportunity. You can’t beat 6 pieces of designer series paper, 6 card bases, and a pdf for 5 different ways to cut it. And to make the deal even sweeter, you will be able to make more than 6 cards using your own card stock and the extra pieces you will have from the cuts I share with you. This is a great way to try out designer series paper or card stock you may not have. don’t miss this opportunity!
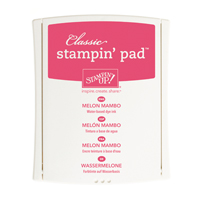
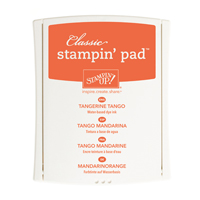
I saw another idea on the internet that I had to put my twist to. For my card I started with the wizard from Magical Day. I colored him and cut him out using the coordinating framelits. I needed to do this to bet the placement for my masks. I wanted the colors to come out of his hand so I set him on my panel and using post it notes, I masked each side of his hand so I could add my color. Once I had my masks in place I used the embossing buddy to go over the masked area. I then used the stars from the same set and stamped them with Versamark. I added clear embossing powder and heat set it. I was now ready to add my color. I began with Tangerine Tango and sponged on the ink very heavily. Once I was happy with that section, I began sponging on some Melon Mambo. The final color I used was Bermuda Bay. I made sure to overlap the colors in each section so they would blend. When I did that with Melon Mambo and Bermuda Bay I ended up with a strip of purple. Once I had all my color applied I took a paper towel and wiped the ink off the stars so they would pop. Now that I had my color burst completed, I could add the Wizard. I added dimensionals to the back of the Wizard and then strategically placed the Wizard on the panel so the color was coming out of his hand. There was a lot of space that seemed to be missing something so I took the sentiment from the set and masked off everything but the word Magical. I inked it up with Night of Navy and stamped it onto a scrap of Whisper White. I used the matching framelit to cut out the sentiment. I used the sentiment and set the framelit down so the top of the word was at the top of the framelit and the side was close to the edge. I cut this out then set the framelit back onto the sentiment so the bottom of the word was at the bottom of the framelit and the other edge that was not close to the edge was now close to the cutting edge. I made sure the top cut edge was inside the cut lines and then ran it through my Big Shot again. This gave me a smaller cut sentiment that was the same shape as the framelit. I used the same framelit and some silver glimmer paper to cut out a backing for the sentiment. I attached the sentiment to the glimmer paper using glue dots. Dimensionals were used to add the sentiment layer to the card panel. This panel was added to a layer of Bermuda Bay and then added to a Whisper White card base. To finish off the card, I punched some stars from the Silver Glimmer Paper using a retired mini punch. Here is my Magical Day Wizard creation!
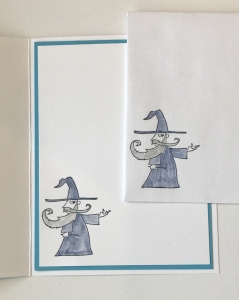
inside of card and envelope
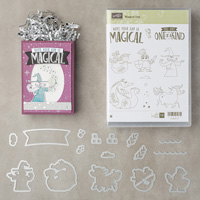
Stampin’ Up supplies used for my creation

