Hello Stampers ~ time for a Stampin’ Up Falling Flowers in Grapefruit Grove creation today.
Technology is not my strength! I try really hard to learn new things but sometimes I just have to walk away for a while. I spent a lot of time working on adding a slider to my blog so that all my offerings are easy to be seen when you visit me. I have not figured out how to change the size of my photo in the slider so that all of the photo is visible. I finally got the text box straight and the Read More button but still need to work on the photo. I will keep plugging away at it and will get it figured out but I needed a break so decided to play while waiting for my orders to be delivered.
Orange is not my favorite color to craft with. I don’t use it much other than during Halloween and Fall. The new In Color Grapefruit Grove is quickly becoming one of my favorites. I never thought I would say that but this color has a soft side that just makes it a great color to use in your card making. I know you are dying to get your hands on the new In Colors but you just cannot order all of them at once. I have the perfect solution to your problem! My In Color Club allows you to get a set of In Color products so that you are ready to begin creating when you receive it. Check out my In Color Club and then join all the other ladies who will build their In Color products in a smart budget friendly way!
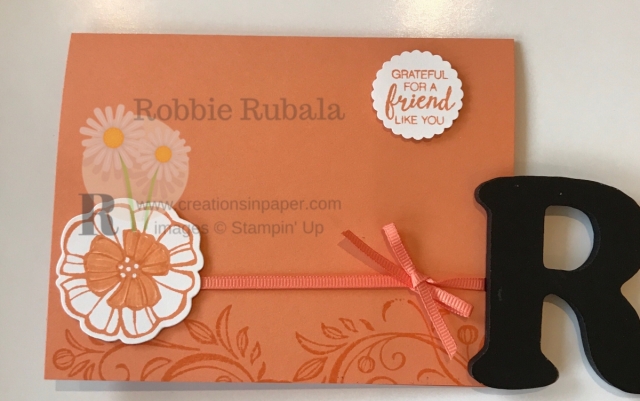
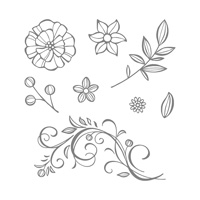
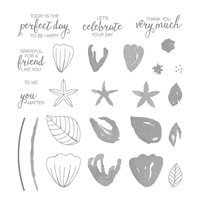
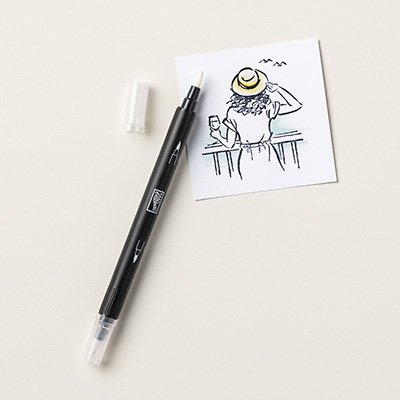
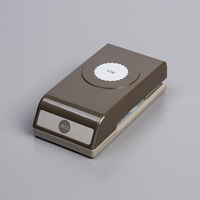
I went with a clean and simple creation today. I took my Grapefruit Grove card base and using the flourish from Falling Flowers I stamped it using the Grapefruit Grove ink. This gives you a tone on tone look. Next I used the 1/4″ retired Handheld circle punch, I punched 2 holes about 1 3/4″ up from the bottom. Take the 1/8″ Grapefruit Grove grosgrain ribbon, thread it through the 2 holes and tie a bow on the right hand side. Stamp the flower from Falling Flowers using the Grapefruit Grove ink and use the coordinating framelits to cut it out. To color the center, use a blender pen and ink on an acrylic block to add color to the inside petals of the flower. The image is added to the card base on the lower left hand side using dimensionals. To finish off the card stamp your sentiment from Bunch of Blossoms and use the 1 1/8″ scallop circle punch to punch it out. Add it to your card base in the upper right hand corner and your Stampin’ Up Falling Flowers creation is complete!
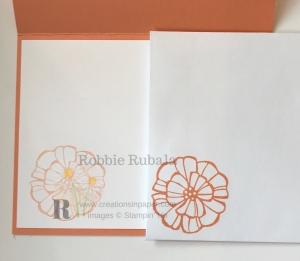
inside of card and envelope
Stampin’ Up supplies used for my creation

