Hello Everyone ~ I have Another Technique Using Birthday Blooms today.
Well I had a great Facebook Live last night but I was all alone! I don’t know if it is the time or day or people are just not interested. I will continue to see if I can get more people to start coming in. I usually try to keep it to about half an hour as I know we are all busy. If you are a new stamper, this is a great way to see different ideas. I will be back in there again next Friday at 7:00 pm. Check out my Facebook page here .
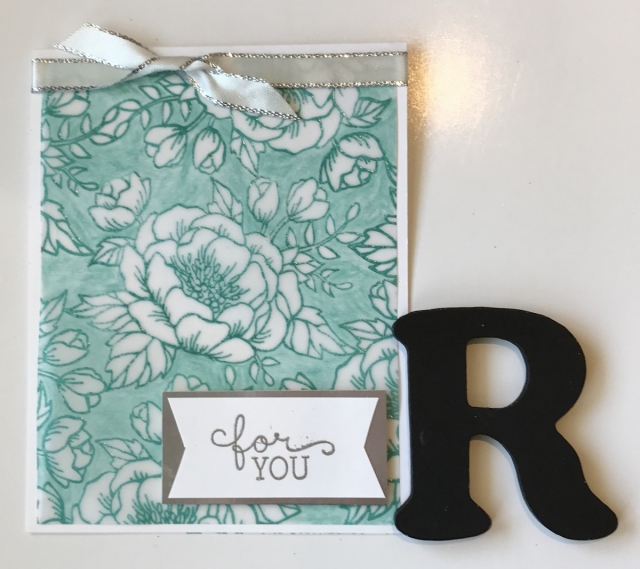
I saw another technique on the internet the other day and wanted to give it a try. The original one had used different ink than dye ink like we have. In order for mine to work I decided to emboss my images so they would not smear. I chose an image from the Birthday Blooms stamp set. This card needs to use a stamping tool. Take a piece of scrap paper and attach it to the middle of the stamping tool. Then add the image to the middle of the scrap paper and using the stamping tool, stamp the image. This will give you the pattern to follow. Add a piece of vellum overtop the scrap paper and use the magnets to hold it in place. Ink up your image and stamp it in the center of the vellum. Take it out of the stamping tool and add clear embossing powder. Heat set the powder. Take the vellum back to the pattern and use it to line up the image on another area of the vellum. You will be lining up the pattern to the image on the vellum having parts of the pattern image touching the image stamped onto the vellum. Repeat the stamp then embossing until you have covered the vellum with the image. See photo below to see how it should look. Once you have the vellum covered with the image you are ready to do the coloring. Flip the vellum over so you are working on the side that is not embossed. Using a colored pencil (I used the matching watercolor pencil to do my coloring) color in all the open parts of the image. You will not color any of the image. Once you have all the open areas you are ready to put your card together. Add a piece of Tear & Tape at the top of the vellum. Attach the vellum to the card base. Your card base can be the same color you used on your vellum or white. I chose to use white to make the image pop. Add another piece of Tear & Tape and add to the top of the vellum on the outside. Take your ribbon and wrap it around the card. To form a flat bow, just loop the 2 ends and push into the Tear & Tape. This will keep the flat knot tied and make it easy to go through the mail. Use the sentiment from the set and stamp it using Versamark. Emboss using silver embossing powder. Flag each end and attach to a piece of silver foil paper. Add the sentiment to the lower right hand corner of the card base using dimensionals.. Here is the completed Another Technique Using Birthday Blooms.
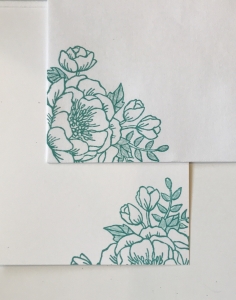
inside of card and envelope
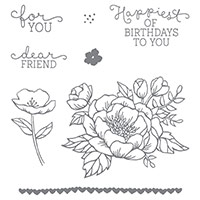
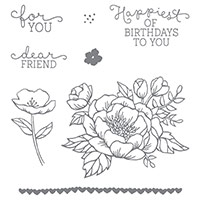
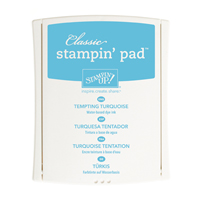
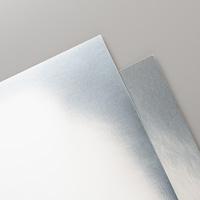
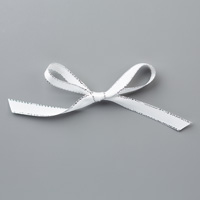
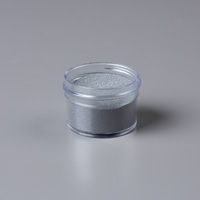
Stampin’ Up supplies used for my creation








I’ve never tried this technique, but I am going to try it soon. Love the results!
It is a fun technique. You will love it! Thanks Barb!
Beautiful. I will have to try this when I get a chance.
It is a lot of fun Joyce! I will be trying it with some of the new sets.
What do you mean by stampin tool?
There are several on the market. It could be a Stamparatus, Misti, Tim Holz are a few. Good question!