Hello Everyone!
Well we went to see Wicked last night! Michaela has a fabulous theater that you can walk to from her apartment. The show started this week and we got tickets very easily since we went in the middle of the week! What a great show. Really puts a new light on the original Wizard of Oz movie. The actors/actresses were very talented with amazing voices. It had been a while since I had been to the theater so this was a treat for me. I loved every minute of it!
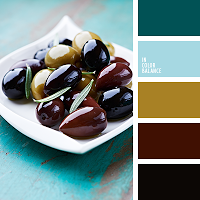
Our Coloring Down the Lines blog hop is today. We have a great picture with some fabulous colors for our inspiration this week.
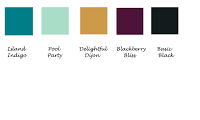
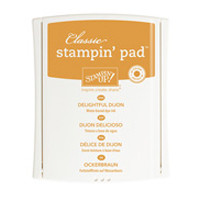
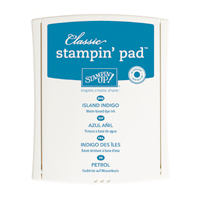
Stampin’ Up color matches
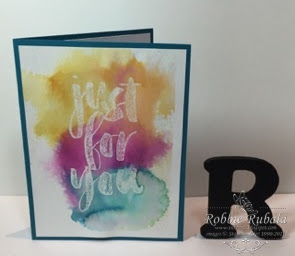
Recently there have been a lot of watercolor backgrounds on the internet. I saw several ideas that I wanted to try so I decided to use a simple watercolor resist as my first attempt. To do this one you have to stamp your image and emboss it on watercolor paper. I chose to use the Botanicals For You stamp set which is a Sale-abration set. You can emboss it in any color you want but I chose to use clear. *A trick to making this work well is to make sure you have good coverage of your image when you emboss it.* If you look closely at mine, you can see my sentiment does not pop really well. Apparently my Versamark pad was not juicy enough to cover all of the paper so when I embossed it there was some areas not embossed so the ink colored it in.
After your image is embossed, you take and add water to your watercolor paper covering only the area you want to add your color a little more on the sides. Push on your stamp pad lid to add some color to the lid of your ink pad. Use your aqua painter to pick up some of the ink from the lid of your pad. Touch down onto the area you added the water too and then gently color that area allowing your ink to spread. If you want a more intense color, just add more ink. Repeat with your next area you want to color and continue until you have added all the color you want. Set your paper aside to dry or use a heat tool to dry it. I did not use a heat tool as that tends to lighten the color and I wanted the intense colors I had. *Another hint is your paper will warp as it is wet and the colors will bleed into one another (see the bleed between the “s” and “t” on my card below). If you do not want your colors to bleed into each other, tape you paper down onto a board (I use the low tack painter’s tape you can get at your hardware store). Make sure you paper is a little larger than you want as the tape will resist the ink.* After the ink has dried, take a baby wipe or soft paper towel and wipe the ink off of the sentiment. The baby wipe can take off the ink so be careful not to touch the ink.
This sounds like it is really hard but it isn’t. If you would like to see a video, please let me know and I will do one to post.
Here is my finished project!
inside of card and envelope
Stampin’ Up supplies used to create my project
Are you ready to see what the other ladies have created with these colors? Hop on over to Amanda’s blog – Our Crafty Playdate to see her fabulous work! Make sure you leave her a sweet comment as well as all the other ladies on the hop.
Thanks for visiting me today. I will be doing some knitting today as I want to work on the bind off of my shawl! Have a Wonderful Wednesday!
Robbie

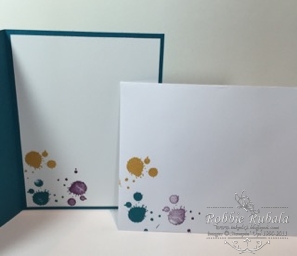







Great job, Robbie! I especially love the envelope with the splotches! Cool card – I was just playing with that technique too!