Hello Everyone!
Well we are warming up and all the snow is melting. My yard is very mushy. How about your place. What is the weather like? Today is supposed to be rainy so I am going to try and do some video taping today.
I thought I would walk you through my process to make my pages today. I have lots of Project Life kits and if you are like me you wonder how to get started.
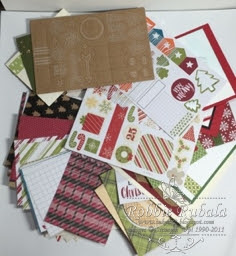
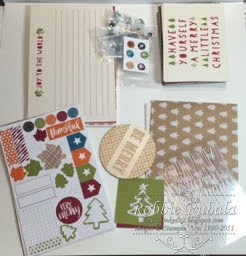
The first step is take all your cards that fit a theme or holiday and organize them by size. Make sure you also pull all your embellishments and stickers.
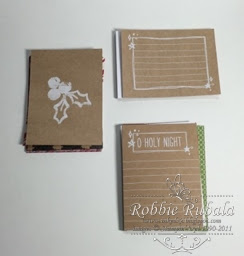
After you have your cards divided by size, take one size and organize them by orientation for when you would use them. Some will need to be used horizontally, some need to be used vertically, and some can be used either way.
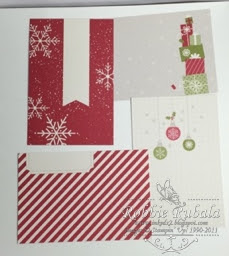
Here are some examples of cards that can be used either way. The cards below have the same image on the front and back. So if your pocket is vertical you would use the side that has the picture going vertical. The same is true if your pocket is horizontal.
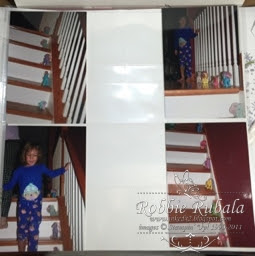
Now that you have your cards organized, you are ready to work on your pockets. Choose your pictures you are planning on using and find the pocket design that your photos fit in. Once you have your pocket you can lay your pictures out the way you want them to be on the page.
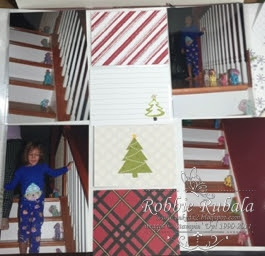
Your next step is to address the empty pockets. Find the cards with the correct orientation and choose the ones you want for your page. Make sure you have one pocket you can use for journaling.
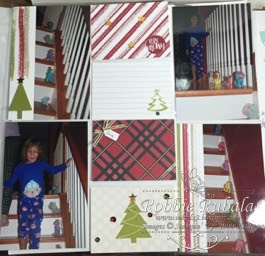
Now if you want you can stop there and your page is completed. I like to add my own special touch so I added some embellishments to my pockets.
For the first photo there was a lot of steps so I decided to cut it down. I took a piece of 4″ x 6″ white card stock and the Work of Art stamp set and stamped some stripes in the colors used in the colors of the other cards. I then added a punched a tree and modified the size to fit the card. I then attached my cut down photo using tape.
I then took all the center cards and added a sticker, some sequins, ribbon and a punched tag to decorate them a little.
For the last photo I had a card that was similar to the one I used for the first photo. I cut down my photo and attached it to the card. Here is my final completed page.
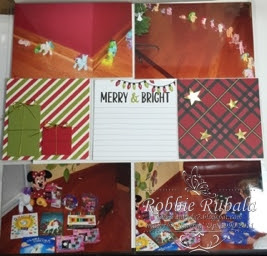
I then used the same process to do another page for Zoie’s book I left the photos the way they were. I added my cards and only had to add something to the first and last card in the row.
For the first card, I cut our some card stock and decorated them to look like presents. The last card I used some foil punched stars and attached them. Here is my finished page.
I hope you enjoyed my pages today and that you found the description of my process helpful. Let me know if you liked my post today and would like to see some more explanations.
Thanks for visiting me today. I hope you take some time for you today! Have a marvelous Monday!
Robbie

