Happy Monday Friends ~ Wait until you see my One Sheet Wonder Christmas Cards idea today.
I was very productive yesterday. I managed to do some ironing, make my last set of swaps, make a recording for today, created the 4 cards I needed for my blog this week, and cut 6 months of the calendar pages. I was a busy girl! It felt good to get a lot done. My goals for today are to finish cutting the calendar pages, start to glue the calendar pages together, make a video or 2, and start to make the holder for the calendar pillow gifts. I have some decisions to make on the colors. I think I have an idea so we will see how they turn out. You will see them next week after I have given them to the recipients. I am hoping they turn out as good as I picture them.
With my busy next 2 weeks because of my trips I decided to use an idea that I could plan ahead for the next 2 weeks. I thought it would be fun to show you how you can take one piece of 12″ x 12″ piece of Christmas designer series paper and make 10 different cards. This is known as a One Sheet Wonder. I have a video today to show you how to cut the paper today and I will share and explain how to make card 1 of the 10 possibilities. Over the next few weeks, I will share the other 9 cards and explain how to make them. When finished you will have 10 cards from one sheet. This can be done with any 12″ x 12″ piece of designer series paper. You can create any theme that you want based on the paper you have used. Here is the video showing how to cut the paper.
Now that you know how to cut the paper let’s get started with the first card. This one uses the eight pieces of 1 1/4″ x 1 1/4″ designer series paper. You will also need two pieces of matching card stock (I used Call Me Clover to go with the paper) that measure 2 5/8″ x 2 5/8″. You will be working with the 2 pieces to form an 8 pointed star. Take one of the squares and set it on your grid paper in a diamond shape ~ use your grid lines from the center to match up your points. Now take your second square and place it evenly on top, this is where you grid paper comes in handy. When you finish your shape should look like the one in the picture below.

Take your 8 squares and flip 4 to the back side so you now have 4 squares of one design and 4 squares of the other design. Take one of the squares and add some snail to the center of it. Attach this square to the upper left hand point ~ see photo below.

Now take a square of the other pattern and add some snail to the center. Attach this square to the upper center point like the photo below.

Go back to one of the squares you used first and add a little snail to the center. Attach it to the upper right hand point. See photo below.

Your points should meet in the center as in the photo above. You will continue with the squares all around the shape matching points until you have 1 square left. For the last square add some snail to the center of the square and lifting the edge of the first square you put down, slide the last square underneath like in the photo below.

Place the square underneath the first square you placed and match up the points. Attach so your shape looks like this.

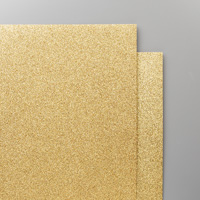
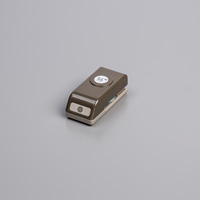
After you have all squares added, you may need to go back and add glue to the tips that do not want to lay flat. Now take 2 more square that measure 2 3/4″ x 2 3/4″ ~ I used Cherry Cobbler card stock. Attach them to the back of the shape you made matching the points to form another layer. To cover up the center, use some gold glimmer paper and a 1/2″ circle punch to punch out the circle and attach to the center of the shape using glue dots.
Take piece of Crumb Cake card stock that measures 4″ x 5 1/4″ and stamp the “Merry Christmas” from the Timeless Tidings stamp set in Cherry Cobbler. Use your Subtle embossing folder to emboss the piece of Crumb Cake card stock. Mount it to a Cherry Cobbler card base. Add your Pinwheel image to your card base. Your card is complete. Here is the completed One Sheet Wonder Christmas Cards idea number 1.
inside of card and envelope

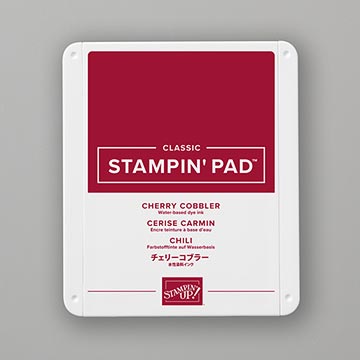
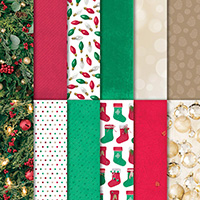
Stampin’ Up supplies used for my creation






Very pretty Robbie. I like it a lot. Think I will give it a try. Julia
Thanks Julia! I would love to see your card if you do.
Hi Robbie
Tried to watch the video, but it stopped after 2:17. Was the video longer than that?
Thank you for your time.
Lin,
The video is only to show you how to cut the paper. I will be sharing each of the 10 cards over the next few weeks. I will be describing how to make each card in the post.
Robbie
That is such a pretty card. I have done that technique in the past. Will have to try it again soon.
Thanks Betty Ann! I have done a number of OSW but this one is the best cuts I have ever seen!