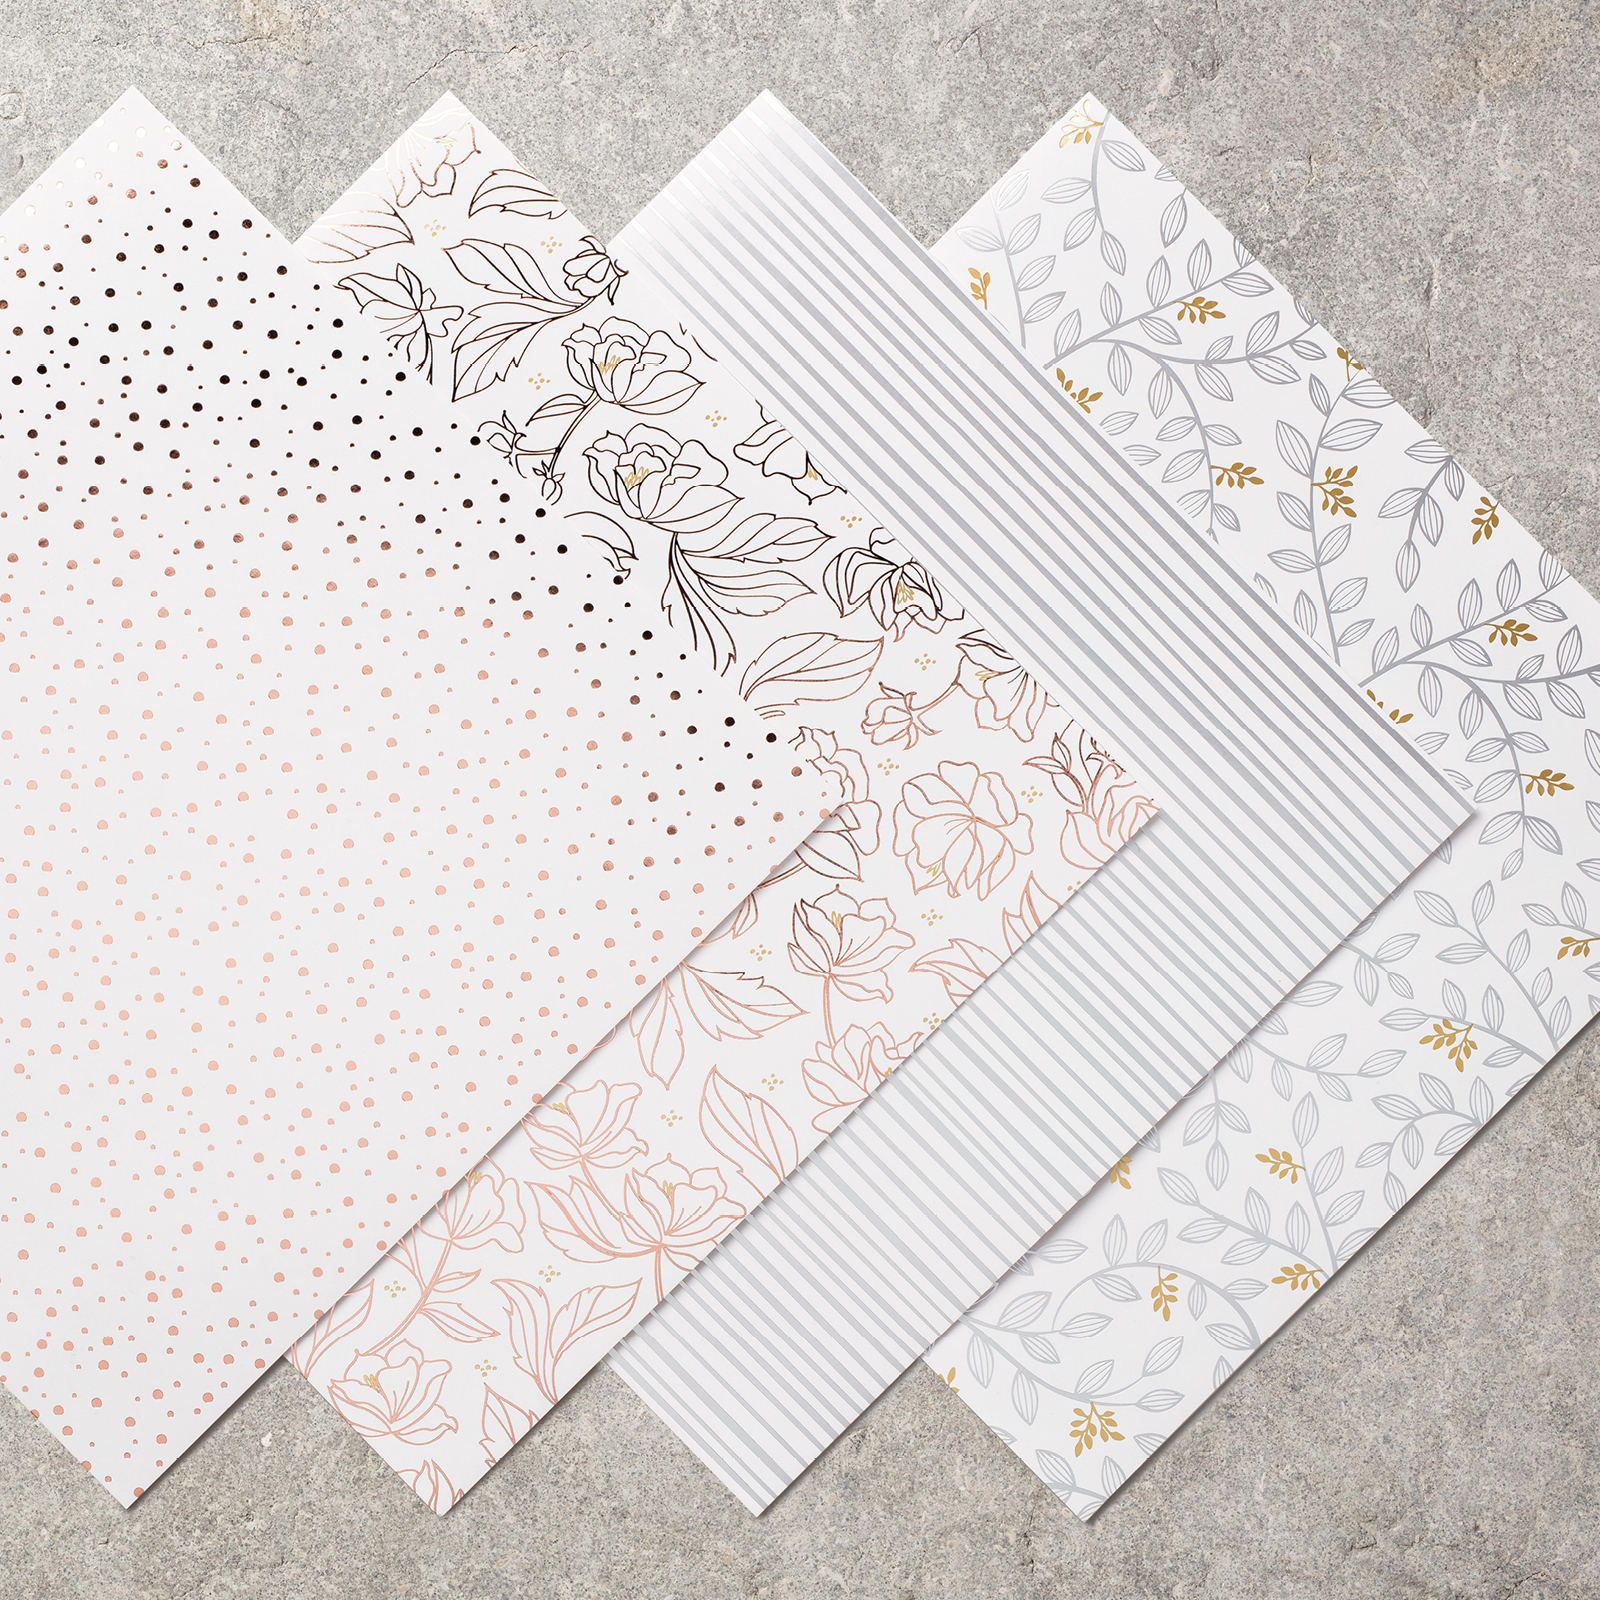
Good Morning Everyone ~ I played with the Sale-a-bration Springtime Foils Designer Series Paper to create my card today.
Well I have been busy organizing the last few things in my house. I have some more things to post and sell. I am hoping to get those posted today. I also have some things I need to drop off for donation. So much to do with so little time. At least I can reward myself with a little play time. Do you do this also, work on a not desirable task and then reward yourself with some task or goodie? What is your favorite way to reward yourself?
We have an inspiration challenge today at Hand Stamped Sentiments.
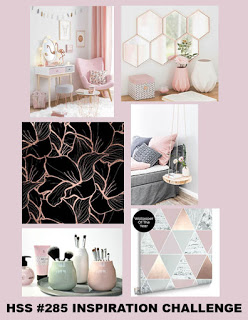
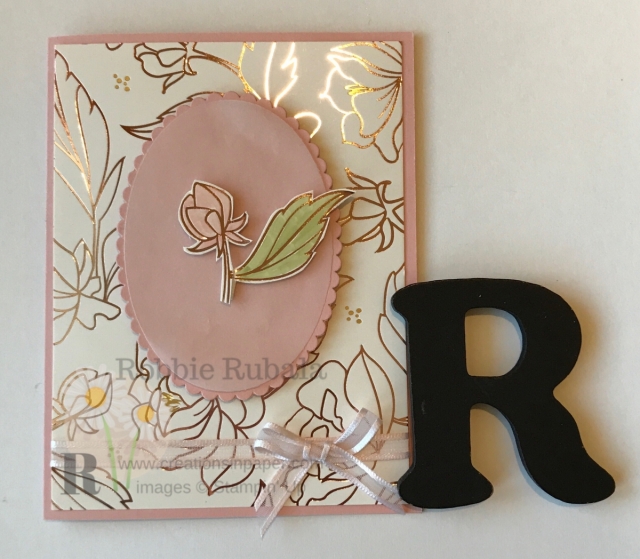
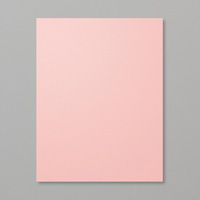
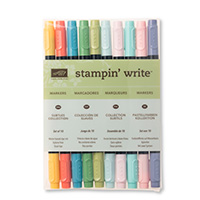
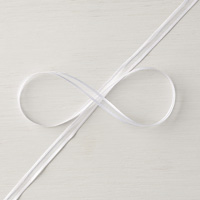
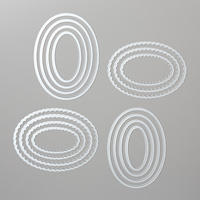
When I saw this I saw pink and the shine and immediately thought of the Springtime Foils designer series paper that is available during Sale-a-bration. I love this paper and would like to see something similar to this in our new annual catalog in June. I chose to use the flower pattern. I knew with the rose gold outline it would look good with Blushing Bride. I began by taking a piece of the Whisper White 1/4″ organza ribbon and dye it using alcohol and reinker. I set this aside to dry while I worked on the other elements of my card. Using a piece of Blushing Bride and the largest scallop oval I cut out the shape. I then cut out the largest plain oval from vellum. I attached the vellum to the scallop oval using glue dots in the center of the vellum so the glue dots would not be visible on the vellum. Taking a scrap of the flowered foil paper, I used my Blushing Bride marker and Pear Pizzazz marker to color one of the flowers. You can color this with your markers but you have to play with the color on a scrap as some of the darker ones do not color as well. You can also use alcohol markers without any problems. After I had the flower colored, I fussy cut the flower out. The flower was added to the oval element using dimensionals. Now that my ribbon was dry, I added it to the lower edge of the foil paper then attached it to the Blushing Bride card base. A bow was tied and added using glue dots to the right hand side of the ribbon. To finish off my card I added the oval element using dimensionals. Here is the completed Sale-a-bration Springtime Foils Designer Series Paper.
inside of card and envelope

Stampin’ Up supplies used for my creation



Another beauty from you, Robbie! Simple and elegant. 🙂
Thanks Cathy! You are so kind.