Stampin’ Up Artistically Inked and Stitched with Whimsy
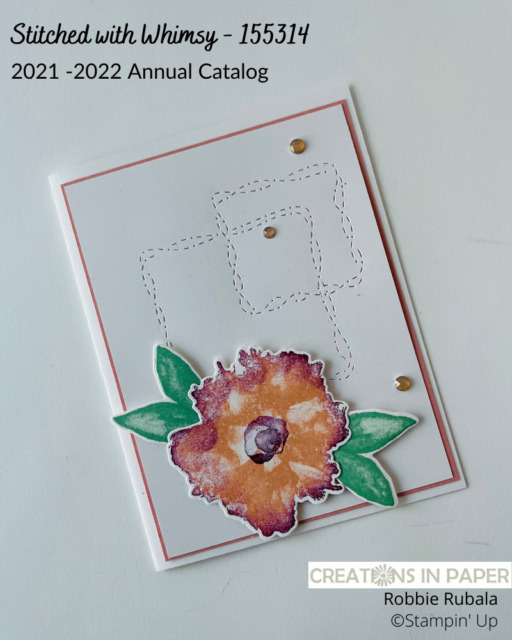
Hello Everyone – using embossing dies I created the clean and simple Stampin’ Up Artistically Inked and Stitched with Whimsy idea.
I saw an idea online where they used an embossing die to create a background. I did not have one die that would do the entire background so I decided to use 2 dies instead. I love this idea and think it is a great way to create a background without taking away from the stamped image.

Take a look at these great dies that are great for creating a background for you card.

Here is the video showing how I created the embossed background on the Stampin’ Up Artistically Inked and Stitched with Whimsy.
Check out how I used the dies to create the interlocking stitched squares on the background.

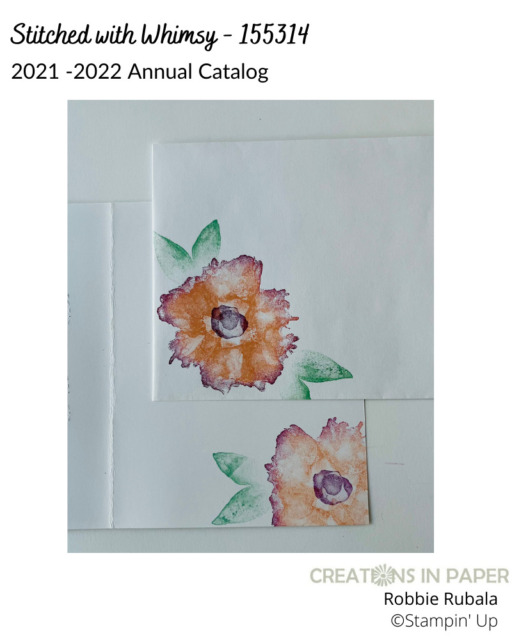
Don’t forget to decorate the inside of your card and your envelope.

These dies can be combined with regular dies to create a window on your card front. Here is an idea where the Stitched with Whimsy dies frame the window cut out. This card uses dies to add an edge to the image rectangle.
Measurements
Card Base: White 5 1/2″ x 8 1/2″ scored at 4 1/4″
Petal Pink background layer: 4″ x 5 1/4″
White: 3 7/8″ x 5 1/8″ and scrap for stamping and punching
January Host Code: BWBA27TE
Use this host code when your order is under $150 and receive a free gift from me! If your order is over $150, please do not use this code, but you’ll still get the free gift.
***Make sure that you can see my name on the final checkout page listed as your Demonstrator when you order so that you know that you’re ordering with me and you’ll get my rewards!
Supplies used for the Stampin’ Up Artistically Inked and Stitched with Whimsy
Product ListSo, will you be trying the idea of using dies to make a background? I know I will be looking at my dies to see what other ones I can use.
Thanks for stopping by to see the Stampin’ Up Artistically Inked and Stitched with Whimsy card. Have a Fabulous Friday!


Love that idea of overlapping the Stitched with Whimsey shapes. Your flower is gorgeous.
Thanks Donna! Saw the idea online and the person had used a die that was made to do that. I decided to see if I could do the same thing with ours.