Stampin’ Up Color & Contour
Hello Everyone – I borrowed the Stampin’ Up Color & Contour stamp set and made a few cards.
I have debated about this stamp set and decided to borrow it from a friend to see if I really liked playing with it. I love how I can use the stamp set with other products like I used on this card.

The simple flower in the Color & Contour stamp set was the perfect image to use on this card.

I used the same sprig to decorate the inside of the card and the envelope.

Sometimes an embossed background is the perfect accent to the card. The splatter embossing folder is perfect for the wellies on this card. The hive embossing folder sets this flower off.
Measurements for Stampin’ Up Color & Contour
Card Base: Evening Evergreen 5 1/2″ x 8 1/2″ scored at 4 1/4″
White: 4″ x 5 1/4″ and 5/8″ x 1 3/4″ and scrap for stamping and die cutting
Rich Razzleberry: 1/2″ x 5″
Pretty Prints pattern paper: 2 1/2″ x 3 1/2″
Let’s make it!
- affix all stamps to blocks
- fold and burnish the card base
- emboss the White panel using the splatter embossing folder
- add the White panel to the card base using Tear & Tape
- attach the Pretty Prints pattern paper to the upper left hand corner of the White panel using Tear & Tape making sure to have equal spacing on the left side and the top
- flag the end of the Rich Razzleberry strip using the Banner Pick a punch
- glue the strip about 3/4″ from the left edge of the White panel and even with the top of the White panel
- flag the end of the White strip using the Banner Pick a punch
- stamp the sprig onto the White strip using Rich Razzleberry
- glue the White strip even with the top of the White panel and overlapping the Rich Razzleberry strip about 1/8″
- stamp the flower using Rich Razzleberry onto the scrap of White
- use the fill in stamp to color the image using Rich Razzleberry – Note – if you want the center lighter than the outline, offstamp the image before stamping the outline
- die cut using the coordinating die
- add the flower to the card front using a dimensional and placing it about the center top to bottom and have 1/2″ of the flower over the White panel
- finish the flower using a Brushed Metallic gold dot
May Host Code – V3TFE3GS
Use this host code when your order is under $150 and receive a free gift from me! If your order is over $150, please do not use this code, but you’ll still get the free gift.
***Make sure that you can see my name on the final checkout page listed as your Demonstrator when you order so that you know that you’re ordering with me and you’ll get my rewards!
Shopping Cart for Stampin’ Up Color & Contour creation
Product List


 Designer Series Paper")


I hope I have inspired you to be creative with today’s Stampin’ Up Color & Contour card. Have a Wonderful Wednesday!
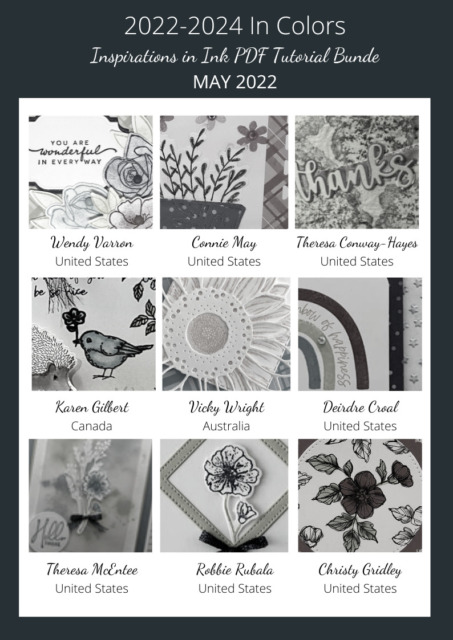
May Inspirations in Ink Tutorial Bundle – get it free with a $35 order using the host code above
Register by June 2nd
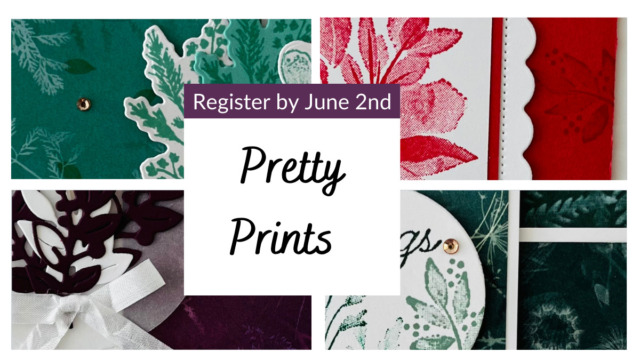
Coming Soon