Stampin’ Up Expressions in Ink Polished Pink
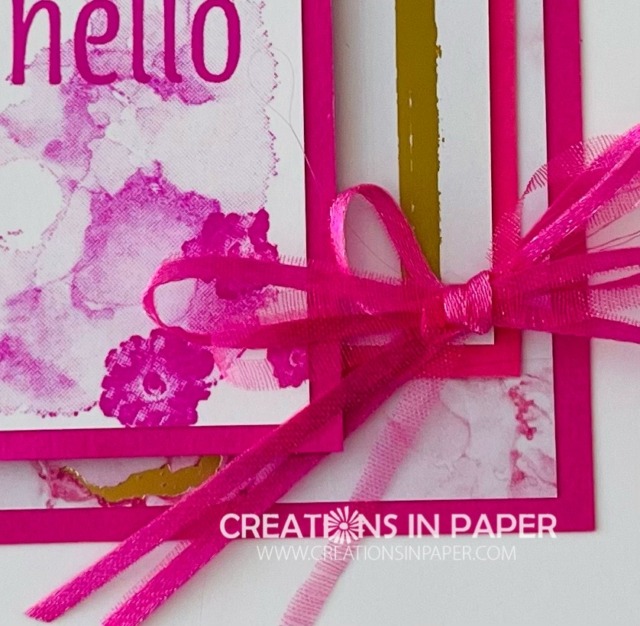
Hello Everyone – wait until you see the ribbon treatment on today’s Stampin’ Up Expressions in Ink Polished Pink creation.
As you know pink is my favorite color and I used it to create a card. Look at how the Polished Pink and gold create this pretty card.

The Artistically Inked stamp set has some great images to use in your card making. Today’s card uses a bright pink pattern paper with the gold foil striped paper.

If you did not get this pattern paper you will need to see if you can find some as it is sold out!
I mentioned the ribbon treatment I used. I used the Open Weave ribbon and cut it apart to create 3 strips of ribbon which I then used to make my bow.

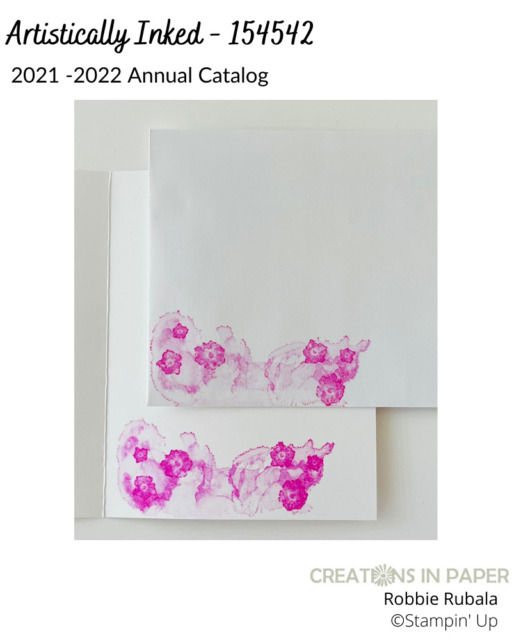
The Artistically Inked stamp set has great images that I used for the front sentiment panel. I also used those images to decorate the inside of the card and envelope.

I have a few posts where I used the Polished Pink. This idea uses the card stock to make a daisy. I used the color for the poppies on this card.
Three rectangles make the layout for this card. Here are the details.
Measurements
Card Base: White 5 1/2″ x 8 1/2″ and 1 1/2″ x 3 1/4″
Magenta Madness layers: 3 1/4″ x 4 1/4″ and 2″ x 3 1/2″ and 1 3/4″ x 3 1/2″
Expressions in Ink pattern paper: pink watercolor pattern 3″ x 4″ and gold striped pattern 1 3/4″ x 3 1/4″
Let’s make the Stampin’ Up Expressions in Ink Polished Pink card
- affix all stamps to blocks
- fold and burnish the card base
- add the pink watercolor paper to the Polished Pink panel then add to the card front
- glue the gold striped paper to the Polished Pink panel and glue it so the left side is even with the left side of the card front and the bottom of the panel is about 1 1/4″ from the bottom of the card front
- using the White panel and Polished Pink ink, stamp the watercolor image on it
- stamp the 3 flower cluster using the Polished Pink ink at the top and the bottom of the panel
- add the sentiment in the center of the White panel using the Polished Pink ink
- adhere the White panel from above to the Polished Pink panel the use dimensionals to add it to the card front to the left of the large pattern paper panel – see photo above
- take a 12″ piece of the Polished Pink open weave ribbon and using your snips cut down the ribbon staying close to the satin edge
- repeat the cutting so you cut the other satin edge off giving your 2 satin strips and a sheer strip
- hold the 3 strips together and tie a bow
- add the bow to the lower right hand corner of the gold and white striped pattern paper with a glue dot
- trim ends of ribbon as needed
April Host Code – FBKKPECF
Use this host code when your order is under $150 and receive a free gift from me! If your order is over $150, please do not use this code, but you’ll still get the free gift.
***Make sure that you can see my name on the final checkout page listed as your Demonstrator when you order so that you know that you’re ordering with me and you’ll get my rewards!
Products used to create the Stampin’ Up Expressions in Ink Polished Pink
Product ListSo are you a pink girl or is another color your favorite? I hope my Stampin’ Up Expressions in Ink Polished Pink card has inspired you to recreate it with your favorite color.
Have a Marvelous Monday!


