Stampin’ Up Seas the Day
Hello Everyone – are you ready for some new products with my Stampin’ Up Seas the Day card?
Vicky from vicky-wright.com and I have teamed up to give you Across the Waves Mini Blog Hop. Each Wednesday we will be sharing & featuring a project created with a nominated Stamp Set or Bundle.
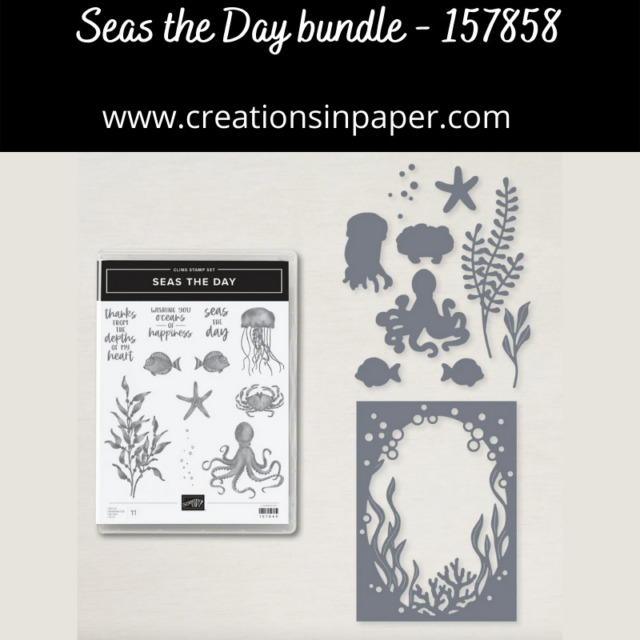
This month Vicky and I have chosen the Stampin’ Up Seas the Day bundle for our Across the Waves focus. I thought the new Waves of Ocean pattern paper went nicely with it and the Blue Foil paper was the perfect mat layer.

I have had the Seas the Day bundle for quite some time and have not used it. I knew it would be perfect with some new product for today’s card.

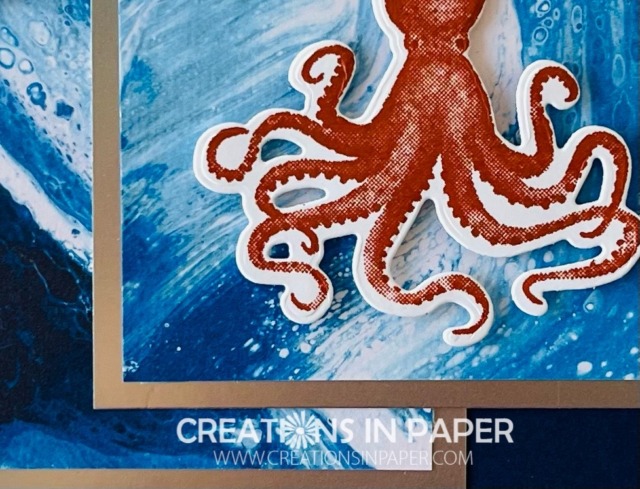
Check out a close up of this paper that is available to order now. This paper is all about the ocean and waves and will pair nicely with this bundle.

This is my first play with this bundle so I am excited to be using it this month. The Sailing Home bundle would be another good one to use with this pattern paper. Here is one idea where you could replace the embossed background with the paper. Or how about this idea where you just used the new paper for the background.
Now to see what Vicky created with this bundle, click the image below and check out her card. I can’t wait to see what she does with this bundle!

Measurements
Card Base: Night of Navy 5 1/2″ x 8 1/2″ scored at 4 1/4″
Waves of Ocean pattern paper: 3″ x 3 1/2″ and 2 1/2″ x 3″ I used the Navy and Pacific Point pattern
Silver Foil: 3 1/4″ x 3 3/4″ and 2 3/4″ x 3 1/4″ this is the new Blue Foils that is part of the Waves of the Ocean suite
White: scraps for stamping and die cutting
Ready to make the Stampin’ Up Seas the Day card
- fold and burnish the card base
- add the larger pattern paper to the larger silver foil paper
- add this panel to the left side of the card leaving equal spacing on the top and bottom and left hand side
- glue the smaller pattern paper to the smaller silver foil paper
- glue this panel to the card base so it is equally spaced at the top and bottom and about 1/2″ on the right side
- stamp the octopus using Cajun Craze ink and use coordinating die to cut it out, use dimensionals to add it to the center of the smaller panel
- stamp the sentiment on scrap of White and punch using the Label Me Fancy punch – make sure to insert it in the punch so the top of the sentiment is at the top of fancy edge of the punch – see photo above
- reinsert the sentiment into the punch so the bottom of the sentiment is at the bottom of the fancy edge of the punch – this makes a small shape – see photo above
- use dimensionals to add the sentiment to the upper left hand corner of the card front
- sprinkle on some rhinestones
February Host Code: R4RQEF7T
Use this host code when your order is under $150 and receive a free gift from me! If your order is over $150, please do not use this code, but you’ll still get the free gift.
***Make sure that you can see my name on the final checkout page listed as your Demonstrator when you order so that you know that you’re ordering with me and you’ll get my rewards!
Products used to create the Stampin’ Up Seas the Day
Product ListMake sure you check out Vicky’s card. I am sure it will be clean and simple but so pretty. Thanks for stopping by and I hope I inspired you to pull out your supplies and make your version of the Stampin’ Up Seas the Day creation.
Have a Wonderful Wednesday!
There are still a few days to sign up for the Ladybug Stamp Camp by clicking the image below.


Oh this is simply gorgeous Robbie it. TFS. I don’t have this paper but have to rethink.
Thanks Vicky!