Hello Ladies ~ I played with a new Watercolor Idea for my creation today.
I was a busy lady yesterday. I got my porch cleaned up, painted my walls that needed touching up, worked on a new wreath for my front door, painted the letter for the wreath, hung a lot of pictures in the guest bedroom and one in the great sunroom, and still managed to make 2 cards. I also did a couple of loads of laundry and dust mopped my floors. Today I have a few errands to run before I have an appointment. When I get back I plan on working on cleaning up the desk and couple of bins in the guest room. Then it will be ready for my guest later this week. I also want to finish up my wreath so I can get it on my front door. Then I will play in my studio as I still need a video and 4 more cards so I have all I need to have posts while my guest is here.
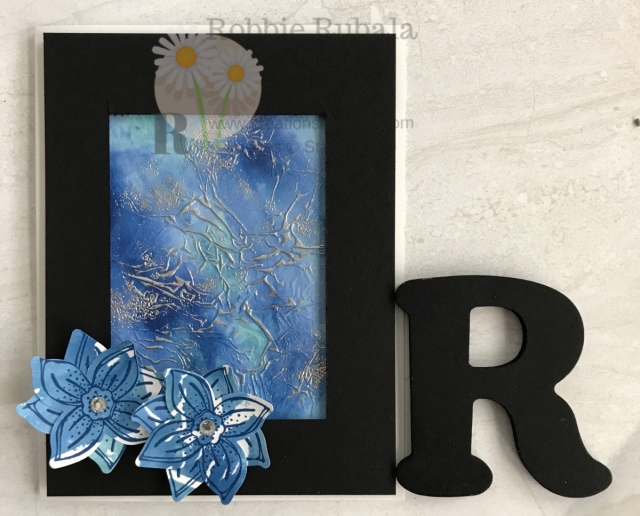
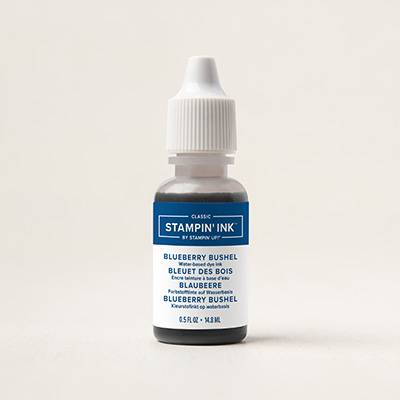
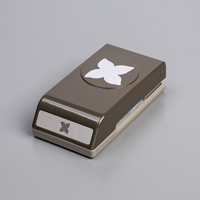
I am always looking for new a Watercolor Idea to try and my share today uses an idea I saw Gail Ellis do. She used the new Sprinkles but I don’t have them. I have the Colorburst by Ken Oliver and have had them for many years. I cannot see purchasing the same item because it is Stampin’ Up. I decided I would use her idea with reinkers to see if it works also as most of have reinkers and this is something you could do. I began by using a craft sheet. You have to protect your surface as this is messy. I then took 2 reinkers and put several dots of each color randomly on the craft sheet. You will need to have a space about card front size when finished. You will need something to scribble in the reinker to mix and spread it. Once you have the reinkers spread some, take a spray bottle of water and spray the reinkers quite a bit so that it spreads the color all over. Take a piece of tissue paper that is about 6″ x 9″ (a little bigger than the 5 1/2″ x 8 1/2″ of your card base) and drop the tissue paper into the reinker water. Carefully pick up the tissue paper and set it down onto a piece of Whisper White card stock you have cut to 5 1/2″ x 8 1/2″. Set this aside to dry. The tissue paper has a lot of ink on it and by setting it onto the Whisper White card stock you are taking advantage of the extra ink in the tissue paper so you are getting 2 backgrounds at once. While the tissue paper is drying, determine what size you would want your piece to be. I looked at my tissue paper and knew a 3″ x 4″ piece of Whisper White card stock so I cut a piece this size. Take the tissue paper and carefully crumble it up. Slowly uncrumble it ~ you don’t want all the wrinkles to go away as you will see in a couple of steps from here ~ and cut it a little larger than your Whisper White card stock. Use glue on the front of the Whisper White to cover the entire piece. Set the tissue paper on top so it sticks to the Whisper White. I then added Tear & Tape to the Back and wrapped the edges around and stuck them down. This gives you a nice edge. Now take your Embossing Buddy and go over the front of the tissue paper. Now use your Versamark pad and gently swipe it across the tissue paper. You want to add Versamark to the ridges only so do not press or you will loose the effect of the embossed wrinkles. When you have added your Versamark, sprinkle on the Silver embossing powder and heat set it. When it is finished you will have a fun silver embossed background. Now that you have your tissue paper panel I used a piece of Basic Black and cut a frame. I added some fun foam to the frame to pop it up. I used glue dots on the corners to attach the panel to the frame and then added the frame to the card base. I used the piece of card stock I had set the tissue paper on to stamp the Pop of Petals using Blueberry Bushel. The Four-Petal Flower punch was used to punch them out. I layered them using glue dots. The completed flowers were then added to the frame using dimensionals. Here is the completed Watercolor Idea creation.
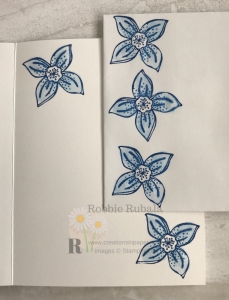
inside of card and envelope
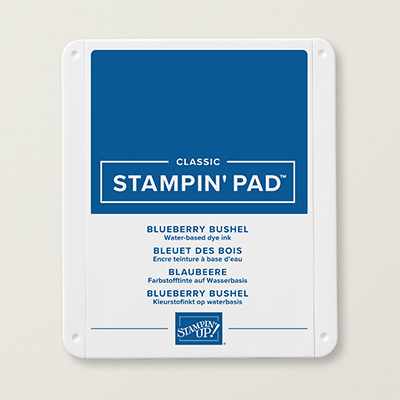
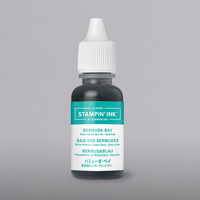
Stampin’ Up supplies used for my creation








Yes, I will be trying this technique. Your card is stunning!
Thanks Sue! I loved the way this turned out.