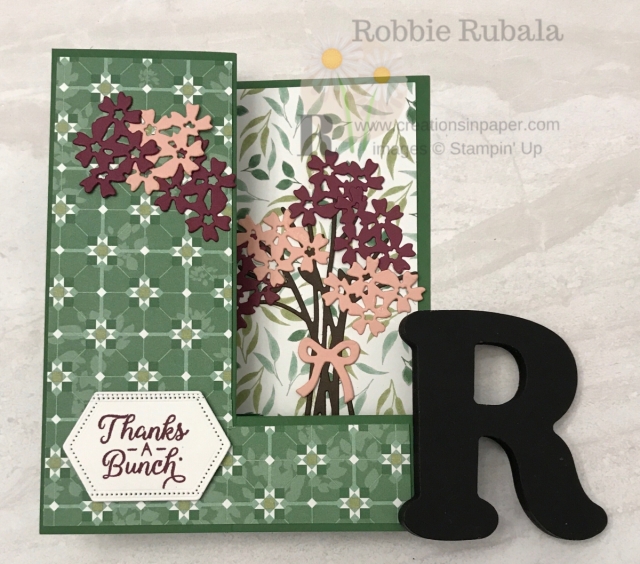
Hello Everyone ~ I found A New Fancy Fold Idea for you today.
I did it! I managed to get all my cards and videos made but one video which I will do today. I also have a ton of packing to do as I am leaving tomorrow. I have to pack for a week at Jess’ then a week in California. I think I will do 2 different suitcases as it might be easier. Then I have to pack all of Bijou’s things. This will be the first time I will have been gone for 2 weeks. I have some plans to meet some of my friends in Maryland while I am there. The girls are in school during the day so I will have some time to see them and have some play dates! I am looking forward to seeing everyone as I have not been back in several months.
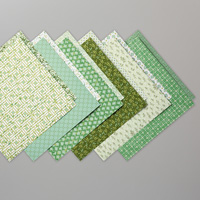
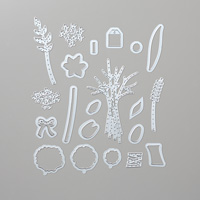
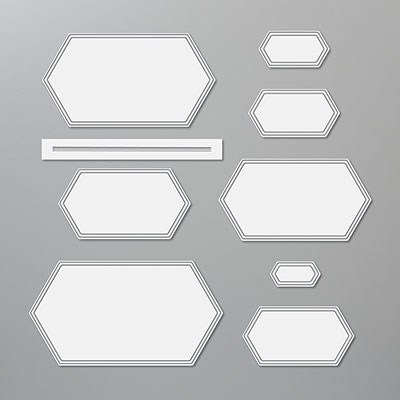
I ran across a fancy fold the other day that I had not seen before. I could not find directions for it so I just started playing. The fold is called the Split Z Fold card. I knew how to make the Z Fold card but I was not certain how to do the Split Z Fold. I used the card base and on the long side I scored it at 2 1/8″ and 4 1/4″. Next I looked at the picture and could tell they split the space between the fold on the front of the card and the middle of the back of the card. so using my trimmer I set my card stock in the trimmer at the 1 1/4″ mark. I put the cutting blade at 2 1/8″ and then cut down to 6 3/8″. After the cut, you fold the card in half and burnish with your bone folder. Then take the front and fold on the scored line so it folds back on itself. Put your card base back in your trimmer and then score from the cut line on the back of the card to the bottom ~ this score line will only be 1 1/4″ long. Now take your score in the middle of the 1 1/4″ and fold it to form a mountain fold. The scored line in the middle of the card back you want to fold so it is a valley fold. If you look at it from the bottom it forms a backwards Z. To decorate it I took a regular panel of dsp ~ 4″ x 5 1/4″ ~ and on the 4″ side I put the paper in at 2″ and cut down 4″. I then put the paper on the 5 1/4″ side and put the right hand side at 1″ and then cut down 2″ to remove a rectangle from the bottom. This forms an L with the vertical leg thicker than the horizontal part. Lay this piece on the card front and adjust if needed. Glue this piece onto the front of the card. Take the back piece of dsp and put the bottom of the dsp at the top of the trimmer and the left side is at 2″. Cut down 1 1/4″ then turn the paper so the left side of the paper is at the top. Line up the paper with the 2″ mark and then cut down 1 1/4″ to remove the rectangle. Lay this piece on the card front and adjust if needed. Glue this piece onto the back of the card. I used the Bouquet Bunch dies to cut out the flower spray and glue it on the right side of the back panel. I cut some extra flowers and glued them to the front panel. The sentiment was stamped onto a scrap of Whisper White. I used the third die and lined up the sentiments so the words were close to the side. After it was cut out, I realigned the sentiment so the other side was close to the end of the die. I ran the die through again to create a smaller shape that fit the sentiment better. The sentiment was added in the lower left hand corner of the card front using dimensionals. To finish it off, a piece of Whisper White was cut at 2″ x 4″. This piece was then glued to the right hand side of the card front. Here is the finished A New Fancy Fold Idea creation.
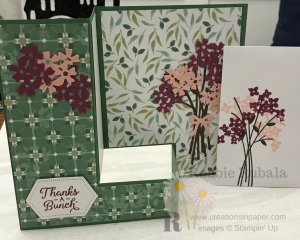
So you can get a better idea of what the card looks like opened, here is a photo along with the envelope. If you look at the bottom of the card you can see the open space created with the cut.
I have several other fancy fold ideas. Check out this idea that is easy to do. And don’t miss this idea that uses the daisy punch for an interactive element.
Stampin’ Up supplies used for my creation




Good morning Robbie,
I am going to have a go at this design, and the daisy card from 2017, both cards will be a challenge for me. My cards are always just straight forward.
Thank you for sharing and your time.
Lin
Lin ~ it is easier than I thought when I looked at it. The key is the folding so I had to play with it a bit. I would love to see your card when you get finished!