Punch Art Daisies – Stampin’ Up Hello Ladybug
Hello Everyone – today’s Punch Art Daisies – Stampin’ Up Hello Ladybug creation is a fun idea that will surely bring a smile to the recipient’s face.
I love daisies and especially in all colors like the pink ones – my favorite color – on this card! Look at how cute they are with that adorable ladybug.
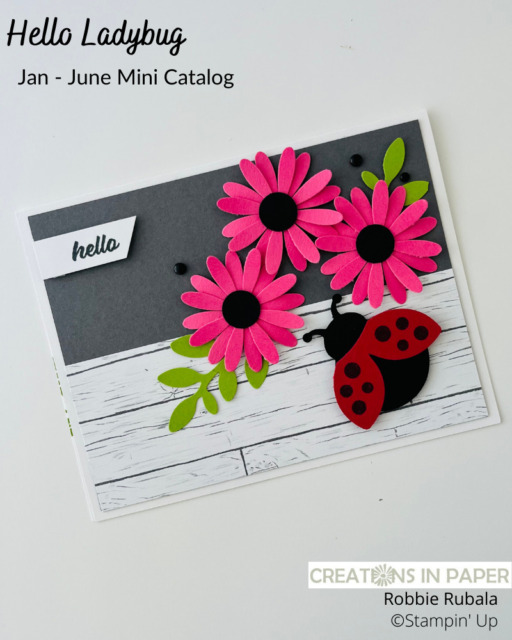
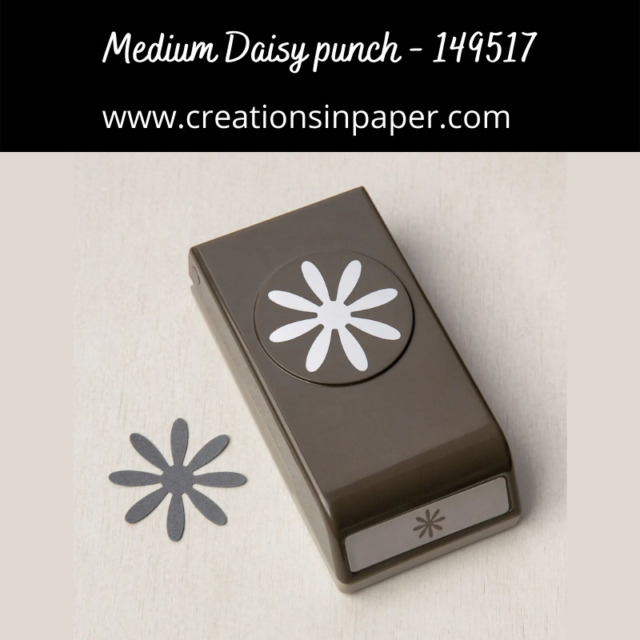
The flowers were made with the medium daisy punch and I used 2 punched flowers per daisy.
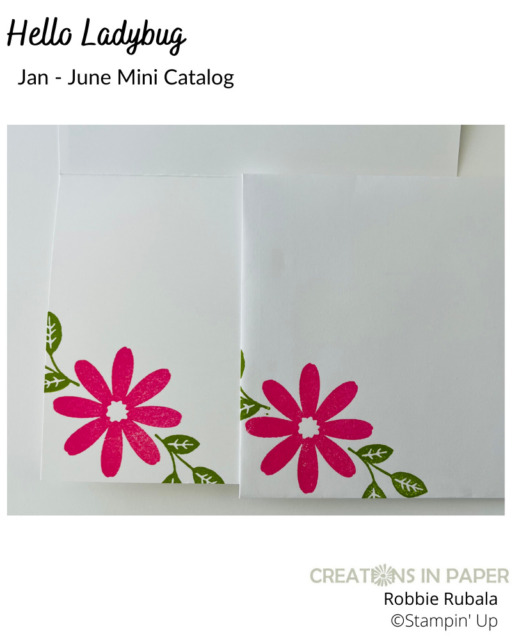
I used a stamp set with a daisy flower in it to decorate the inside of the card and the envelope.
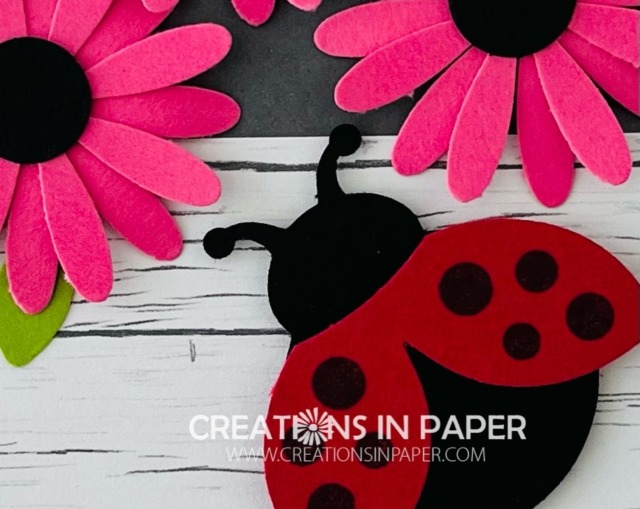
Here is a close up of the details for the front of the card. Love how the background looks like the outside of a house.
Here are a few more ideas for using that daisy punch. You can add texture to the petals by using a background stamp like this idea. Or how about this idea where a medallion is used to draw attention to the daisy on this card.
Measurements for Punch Art Daisies – Stampin’ Up Hello Ladybug
Card Base: White 5 1/2″ x 8 1/2″ scored at 4 1/4″
Basic Gray: 4″ x 5″
Basic Black: scraps for die cutting
Basic White: 1/2″ x 1 1/2″
Granny Apple Green: scrap for die cutting
Real Red: scrap for stamping and die cutting
Polished Pink: scrap for punching
Heart & Home pattern paper: 2″ x 5 1/4″ – horizontal board pattern
Step by Step – note this is a top fold card
- affix sentiment stamp to block
- fold and burnish the card base
- add the panel of Basic Gray to card front
- glue the strip of pattern paper to the bottom of the gray panel on the front of the card
- use the daisy punch to punch out 6 Polished Pink daisies
- use glue dots to join 2 of the punched daisies offsetting the petals, repeat with other punched daisies so you have 3 completed flowers
- with the Pierced Blooms dies (retired) die cut 2 of the leaf sprays
- attach 1 leaf spray to 1 daisy and the other leaf spray to another daisy using glue dots
- glue the 3 daisies in a cluster in the upper right hand corner of the card front – see photo above
- punch three 1/2″ circles from black
- add them to the center of the daisies with a glue dot
- punch the ladybug body from black
- stamp the dots onto the scrap of red using Memento Tuxedo Black ink and punch out the wings with the punch
- use a dimensional to add the wings to the ladybug
- add the completed ladybug to the lower right hand corner of the card from using dimensionals – see photo above
- stamp sentiment onto the strip of White, angle cut the right side of the strip
- with dimensionals add the sentiment in the upper left hand corner of the card front
- sprinkle on some Black Matte dots
May Host Code – V3TFE3GS
Use this host code when your order is under $150 and receive a free gift from me! If your order is over $150, please do not use this code, but you’ll still get the free gift.
***Make sure that you can see my name on the final checkout page listed as your Demonstrator when you order so that you know that you’re ordering with me and you’ll get my rewards!
Products used for the Punch Art Daisies – Stampin’ Up Hello Ladybug
Product ListI hope you enjoyed my Punch Art Daisies – Stampin’ Up Hello Ladybug card. I had so much fun making it.
Thanks for visiting me today and have a Sensational Sunday!
May Host Code

May Inspirations in Ink Tutorial Bundle – get it free with a $35 order using the host code above
Coming Soon


