Stampin’ Up Amazing Silhouettes with Perfectly Penciled pattern paper
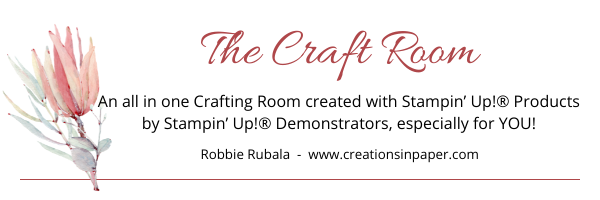
Hello Everyone – the Stampin’ Up Amazing Silhouettes with Perfectly Penciled pattern paper was the start of my card today.
I was so excited when I finished this card. I love all the texture and patterns on this card. I think the Amazing Silhouettes butterfly was the perfect image for this card. I love the simple layout making it easy to recreate!
The Amazing Silhouettes stamp set has a plain image that is the focal point with a watercolor area around it. They are great for using with one color or sponging on various colors. That makes this stamp set very flexible.

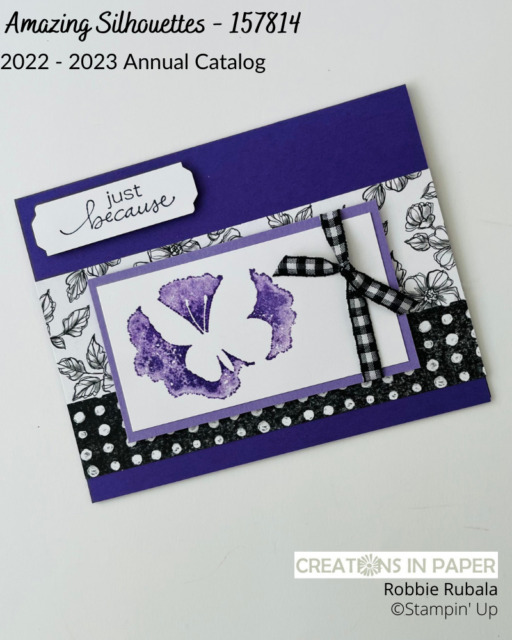
The focal image was perfect to decorate the inside of the card and the envelope. Check out how the color for the card was determine by the color used for the stamped image.
Here is a close up of the details so you can see the texture and interest.

I talked about how flexible this set is. Look at this card that uses 2 colors to highlight the focal image. Who wouldn’t love to get this thank you card in the mail which uses a monochromatic color scheme.
Ready to make this card? Here are all the details.
Measurements for Stampin’ Up Amazing Silhouettes with Perfectly Penciled pattern paper
Card Base: Gorgeous Grape 5 1/2″ x 8 1/2″ scored at 4 1/4″ and 2 1/4″ x 3″
Highland Heather: 2 1/4″ x 4″
White: 2″ x 3 3/4″ and 3/4″ x 2 1/4″ for stamping and die cutting
Perfectly Penciled pattern paper: 1″ x 5 1/2″ – dotted pattern and 1 3/4″ x 5 1/2″ – small flower pattern
Step-by-step
- fold and burnish the card base
- add the black and white dotted paper to the bottom of the card front about 1/4″ from the bottom edge
- glue the small flower pattern paper next to the black and white dotted paper making sure there is no space between the 2 papers
- use Gorgeous Grape ink and Versamark ink to emboss the butterfly stamp on the left side of the White panel Hint: stamp the image into the Versamark ink then onto the Gorgeous Grape ink pad and stamp on your White panel. Add clean embossing powder and heat to melt.
- attach the White panel to the Highland Heather panel
- tie a knot around the right hand side of the butterfly panel using the Black and White gingham checked ribbon
- add dimensionals to the back of the panel and add to the card front about 5/8″ from the bottom
- stamp the sentiment from Lovely You using Memento Tuxedo Black ink on the White strip
- punch each end of the White strip using the Lovely Labels pick a punch
- add the sentiment to the upper left hand corner of the card front with dimensionals
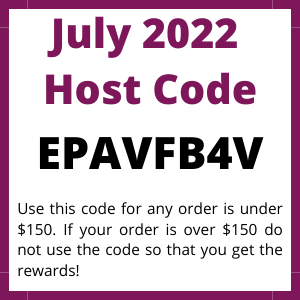
July Host Code – EPAVFB4V
Use this host code when your order is under $150 and receive a free gift from me! If your order is over $150, please do not use this code, but you’ll still get the free gift.
***Make sure that you can see my name on the final checkout page listed as your Demonstrator when you order so that you know that you’re ordering with me and you’ll get my rewards!
Shopping Cart to the Stampin’ Up Amazing Silhouettes with Perfectly Penciled pattern paper
Product List
")


 Designer Series Paper")
 Gingham Ribbon")

")


If you have been looking for other ideas for this stamp set I hope my Stampin’ Up Amazing Silhouettes with Perfectly Penciled pattern paper has inspired you.
Have a Sensational Sunday!
July Host Code
Welcome to The Craft Room – looking for ideas? Click the link below to get all the details and sign up.