Hello Everyone ~ I used my markers for a Beautiful Day Colored Rose creation today.
Yesterday was a day of calls and appointments. I did not get into my studio. That means I will have to spend some time in my studio today working on cards for later this month. I have a couple of errands to run this morning and I need to get my last shot I need before I go out to see Jake. This is the DPT shot and I heard you get a really sore arm. Not looking forward to that one. Hopefully it won’t be too sore for me to play with paper and ink. Josh and Michaela brought the baby home today. I know they are glad to be in their own house. Here is the latest photo of momma and baby.
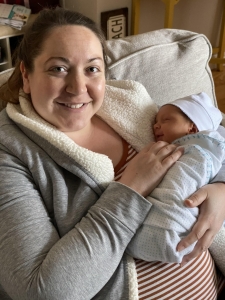
I am so looking forward to snuggling with this one! The last snuggler was Remi and she will be 5 in two months. A couple of things I just noticed in this photo ~ Jake has a smile on his face and he is using one of the blankets I made him. Amazing the things you notice when you really look at the photo.
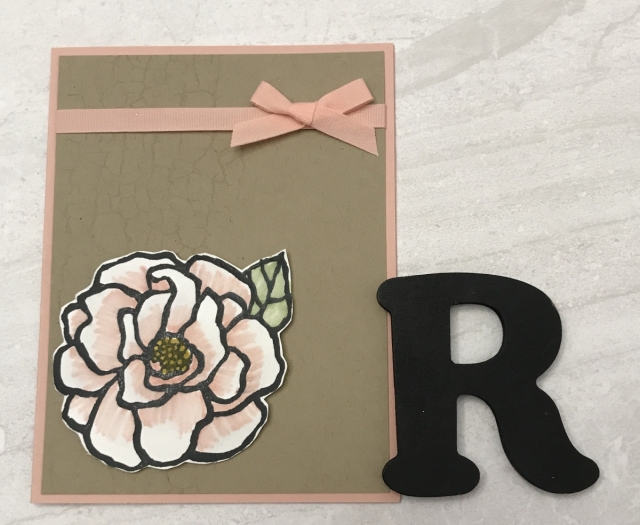
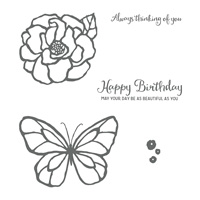
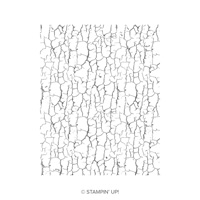
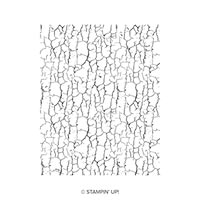
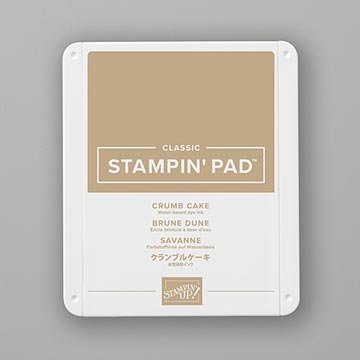
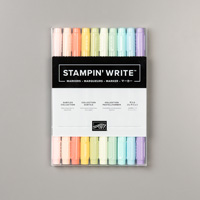
I made a list of all the stamp sets I have since I have a lot of cards to make for when I am away. My goal was to make sure I did not use the same sets over and over. As I use a stamp set I cross it off the list. Today I chose to use the Beautiful Day stamp set. I thought I would do some coloring using markers. Coloring with markers can be a challenge as you end up with lines. I tried an idea to see if I could minimize the lines. I stamped the rose using Memento Tuxedo Black ink. The So Saffron marker was used to color the center of the flower. Then using the Blushing Bride marker I colored the petals by starting on the inside and flicking the color out. Once I had all the petals colored I pulled out my aqua painter and some water and used them to bleed the color together and eliminate the lines. It did not do too bad but you have to be careful that you don’t put too much water on the card stock as it will cause the card stock to pill. I used the same procedure to do the leaf. I set the flower aside to dry. Using a piece of Crumb Cake and the Crackle background stamp I added some stamping on the left side of the panel using Crumb Cake ink. What I did was ink up the side of the stamp and then flipped it over onto the card stock and held the right hand side of the stamp off the paper and pressed the side of the stamp on the paper down to transfer the ink. This gives you a lighter impression than if you stamp it onto the paper. I used some retired Blushing Bride cotton ribbon to add a bow at the top. This panel was then added to a Blushing Bride card base. I used my snips to cut out the dry rose and added it to the card front using dimensionals. Here is the completed Beautiful Day Colored Rose creation.
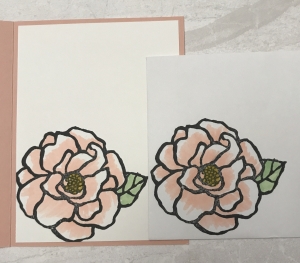
inside of card and envelope
This stamp set has some great images. This one uses the same rose and ink in the lid to color it. Here is a card that uses the butterfly in that set and a blender pen to color it. The last card uses the butterfly also and just the markers to create a stained glass look.
Stampin’ Up supplies used for my creation

