Ink Blending – some tips
Happy Saturday Everyone – Let’s talk Ink Blending – some tips!
Ink blending is a great way to get a soft ink coloring on your paper or to color images. Do you struggle with your ink blending? There are several tools and tricks you can use when you are going to do some ink blending. I have learned a lot over the years and want to share my tips with you in this post.
Always start with a well inked stamp pad. If the pad is dry, it will take longer to lay down the color or you may find you are pressing too hard to get the ink on the paper. I am guilty of this and when you press harder, you end up with blotches on your paper.
There are several blending tools Stampin’ Up carries that can be used for you ink blending. We have had Sponge Daubers for many years. These little tools fit on the end of your finger. They have a smooth sponge on the end that you use to pick up the color and apply it to your paper. I find them perfect for adding color around the edge of your card or in the center of your flower.

Our newest blending tool are the blending brushes. These are great for adding a soft layer of color or for blending several colors. They are made up of tons of soft bristles compacted very tight and glued to the brush. These were used in the make up field and crafters discovered how great they are for get a soft blend of color so we started using them.

We also had Stamping Sponges but they retired last year. If you have some of these you can still use them to blend your colors. These take some practice but you can get a nice smooth layer of color if you are patient and have a light hand.
Some other tips to consider when you are going to be doing some ink blending are
- use scrap paper or craft mat under you paper you are blending on
- use colors that are similar to avoid a muddy mess
- blot off excess ink from your tool
- add multiple layers of color to build up the color and help with blending
- use an panel that is larger than you need so you can cut off edge mistakes
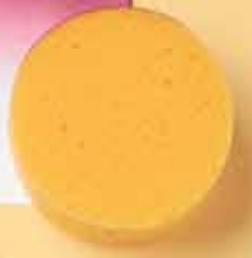
When you are working on your ink blending, keep adding layers until you are happy with the look. Rather than use too many colors, you can use 2 colors to get a 3rd color – yellow and blue make green so add your yellow and then add your blue below the yellow then blend the blue up into the yellow. Make sure you go back over both colors to make sure you get a smooth blend. Check your blending often to see if you are happy with it and that is seamless. When you like the look, stop and you have the panel ready for you card or for die cutting.
If you would like some ideas, check out these posts.
I hope these tips will help you in your ink blending. I can’t wait to play with Ink Blending – some tips this week!