Hello Everyone ~ I have a tip for you with the Ornate Garden Week ~ First Idea creation today.
Well I got my videos made yesterday, my cards made, my Facebook Live card created and posted, and some planning completed. I even did some laundry of my bedding. Today I will be working on my Inspiration in the Mail for April. So many of you have liked the offer and I am busy gathering all my mailing supplies and printing labels so I can mail them out. If you missed the class for April, click the picture below to get the details.
The Ornate Garden suite has some great images and sentiments. There is also a variety of products to choose from. I made a short video to show you the different products.
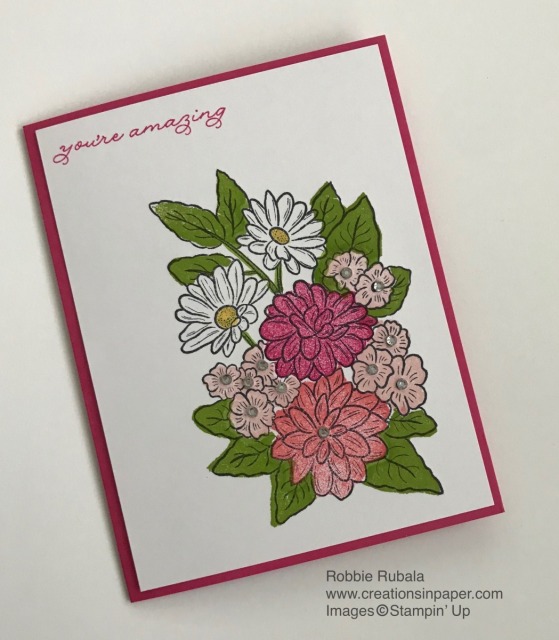
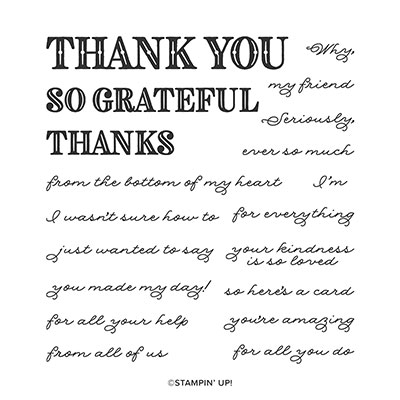
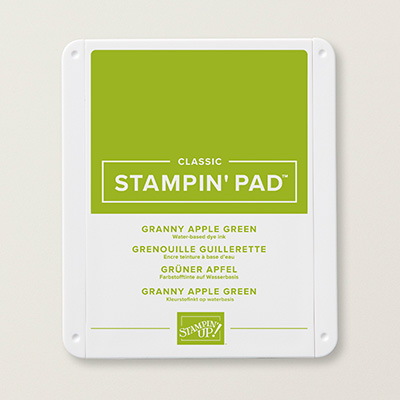
The Ornate Garden stamp set has a large image of clustered flowers. If you have the blends it can be fun to color. But what do you do if you don’t have blends? I recently saw an idea from Jennifer McGuire where she created stamps for her image using fun foam. I decided to give it a try. I followed her instructions of stamping the image onto a piece of fun foam using Staz-On ink. I let it dry overnight ~ I did try Memento Tuxedo Black ink and it is still not dry and it has been 3 days. Once it was dry I used my stamping tool and stamped the image onto my Whisper White card stock using Memento Tuxedo Black ink. I took the piece of fun foam and carefully cut out the images making sure to stay on the stamped lines. I cut out all the leaves first, then the large flower on the top, next was the large flower on the bottom, and finally all the clusters of little flowers. You can cut the clusters out as one image. I did not do the daisies as I was going to leave then white. Once you get the images all cut, you will apply temporary adhesive to the side with the stamping on it. Lay the piece of fun foam onto the stamped image in your stamping tool. Make sure the fun foam is on top of the stamped image on your card stock exactly. Close the door of the stamping tool so the fun foam sticks to it. I added all my leaves one at a time to the door so I could stamp all of them at the same time. I had some issues with static electricity causing the foam to jump to the door before I set the door down on top if it. To avoid this I took my Embossing Buddy and wiped it all over the door. I then used a towel to wipe off the powder as the foam will not stick with the powder. After I had all my leaf foam images stuck down I took my Granny Apple Green ink and applied ink to the foam. I then closed the door and stamped the leaves. When I was happy with the look I used a wet cloth to clean the foam. I removed the foam from the door and put it in my stamp set case as I can use it again. I then repeated the procedure with the other images in the stamp. I did one image at a time. Within 2 minutes I had the whole image colored. I have some parts of the foam that I need to trim a little but other than that it is fine. After I had my image colored in I took a sentiment from the Ornate Thanks set and stamped it in the upper left hand corner using Melon Mambo ink. I applied this panel to a Melon Mambo card base. To finish my card I added some rhinestones to the center of the flowers. Here is the completed Ornate Garden Week ~ First Idea.
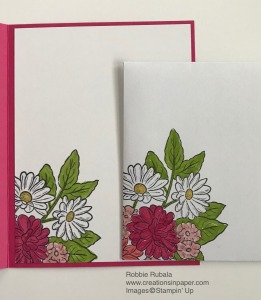
inside of card and envelope
There are other stamp sets I can see using the fun foam technique for coloring the image. The Accented Blooms stamp set is one. The Beautiful Day is another set as the large image can be a challenge to get colored without lines. The Magnolia set would be another one but I do not have the large set.
Stampin’ Up supplies used for my creation

