Good Morning Ladies!
I had several ladies ask me how I made my checkbook cover scrapbook that I shared a few weeks ago. I told them I would make a tutorial and today is the day you get to see it.
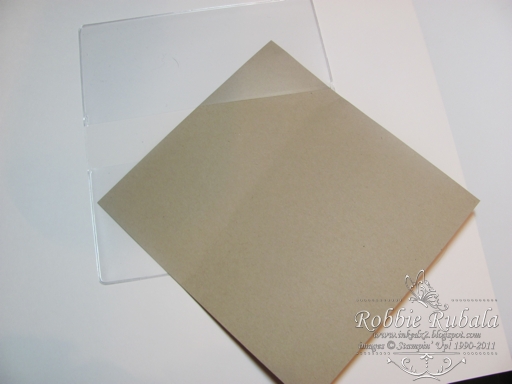
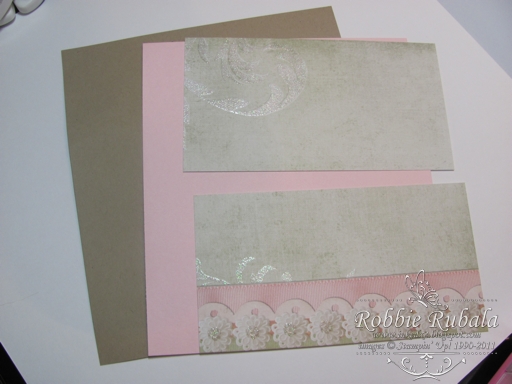
You need to decide what patterned paper you are going to use for your scrapbook and pick out a coordinating solid cardstock. I will be using Crumb Cake to go with my paper.
Step 1 – from the solid cardstock cut a piece that is 6 1/8″ by 6 3/4″ (make sure you test this in your checkbook cover just in case your cover is a different size.
Step 2 – from the same solid cardstock (you could use another coordinating piece if you want but I wanted mine to be the same) cut a strip that is the same width as your original piece and as long as your cardstock is (mine was 6 1/8″ by 11″ since I used 8 1/2″ by 11″).
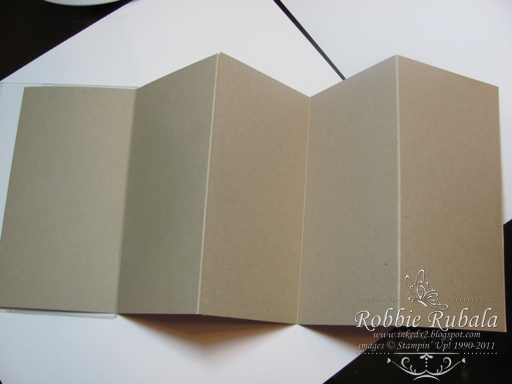
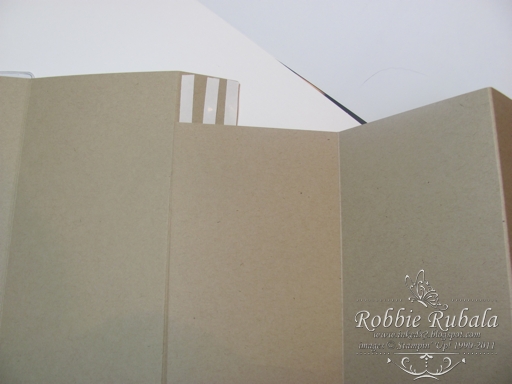
Step 3 – Score the solid cardstock every 3 1/4″ from the short side. You will have one end that will have a 1 1/4″ piece left over. Don’t worry as you will use this to attach another strip done the same way.

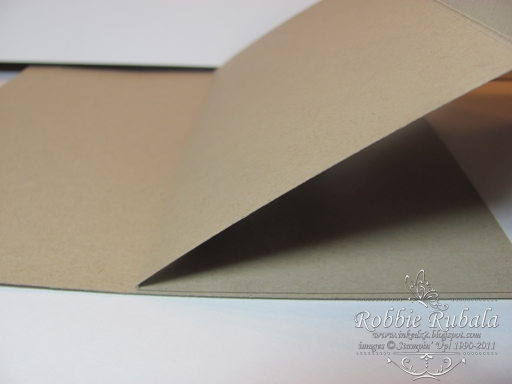
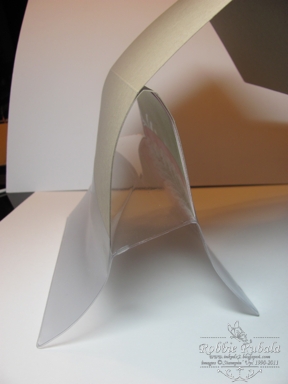
Step 4 – Do a mountain – valley fold of the scored cardstock. You will do the same with the second strip if you are adding one. When you go to mountain – valley fold this one watch how you are attaching the 2 strips so the folds continue in the pattern of folds.
Step 5 – 1 piece of cardstock will allow you to attach 5 pictures. If you want to add more, add another strip which will let you add a total of 11 pictures. I did not do any more than 2 strips as by the time you decorate the panels and add your pictures, it is about the size of a checkbook.
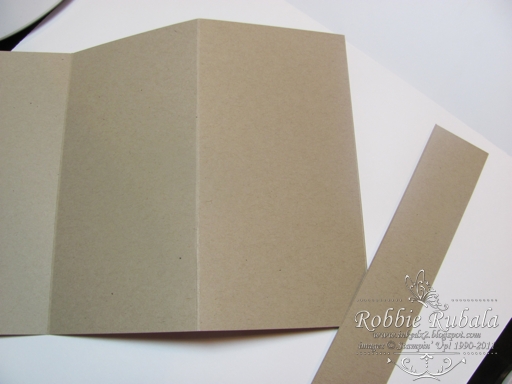
Step 6 – Cut off the 1 1/4″ strip from the last panel as you will not use it.
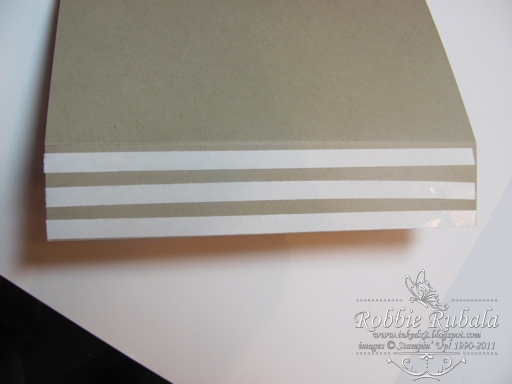
Step 7 – Attach the 2 strips with sticky tape.
Step 8 – Decorate your cover.
Step 9 – Attach the mountain – valley folded strips to the inside of the cover.


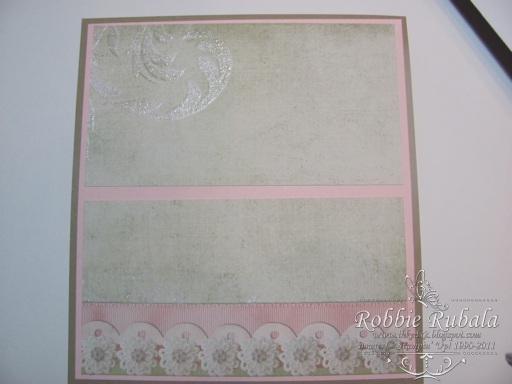
Step 10 – Using a base piece of 6″ by 3″ and the top piece of 5 13/16″ by 2 13/16″
decorate the inside front and back covers.
Step 11 – Gently fold the cover inside out and insert in the flaps of the checkbook cover.
Step 12 – Using a base piece of 6″ by 3″ and the top piece of 5 13/16″ by 2 13/16″
decorate the panels of the scrapbook.

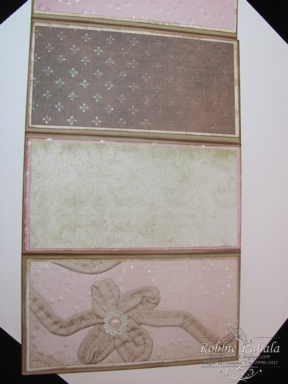
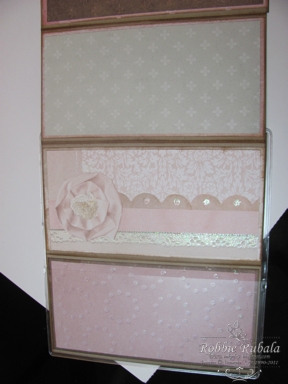
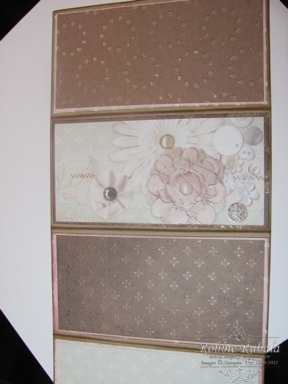
Here is my finished album. I did not use embellishments on this since it will be carried in a purse and the thickness needs to be limited.

I hope you can understand my tutorial and will make one for yourself. Thanks for looking and have a Sensational Sunday!
Robbie