Good Morning Ladies!
Before I get into today share I wanted to let you know about the early registration for Autumn Artistry.
AUTUMN
ARTISTRY
ARTISTRY
The next
session of Stampin’ Fun And Friends
session of Stampin’ Fun And Friends
Begins
September 20th.
September 20th.
Early
registration on now! Only $15
registration on now! Only $15
Please visit
www.stampandscrapwithcherylann.com
www.stampandscrapwithcherylann.com
To sign up
through Paypal
through Paypal
I am designing for them again this time. I have 2 projects I am working on and I may do a third.
Okay now on to my share for today. I took an online class at my vc rocks group. A lovely lady – Elaine – taught us how to make a star album. I got to thinking that it would be great to use some of the pockets to hold more photo mats. I set about working on it. I got it figured out so I am sharing the basic album today. I want to use this for my photos from Sequoia National Park. I had planned on using the Well Worn ds paper but it has not come in yet. As soon as it is in I will finish the album and share it as well as the pictures that will be in it.
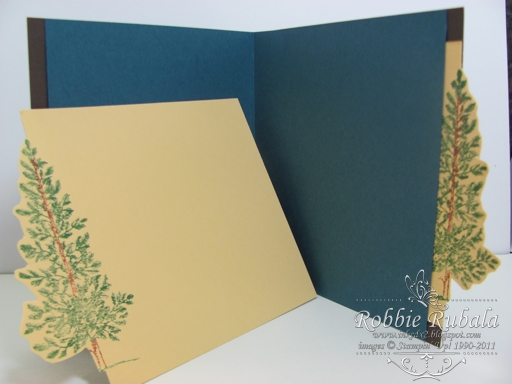
You start with 2 sheets of cardstock – different sizes as they will be layered. You will have 7 sets of these.
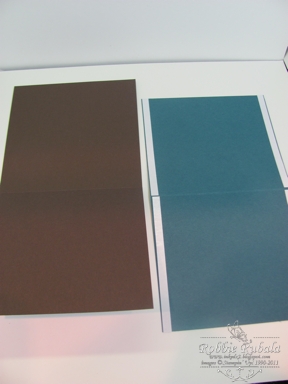
Next you layer the 2 cards so it forms a book. Do this with all 7 sets.
I joined my layers on the side leaving the front part open for a photo mat. I made my photo mats and used the large pine tree from Lovely as a Tree on the edge to form the pull for the mat.
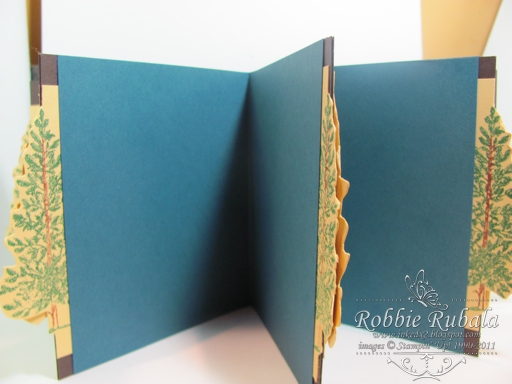
After you have all your “books” put together you then join the books by attaching them at the front edge only. If you attached them on all the sides you won’t get the star shape when it is opened. Remember to leave the front and back page unattached so you can add the cover.
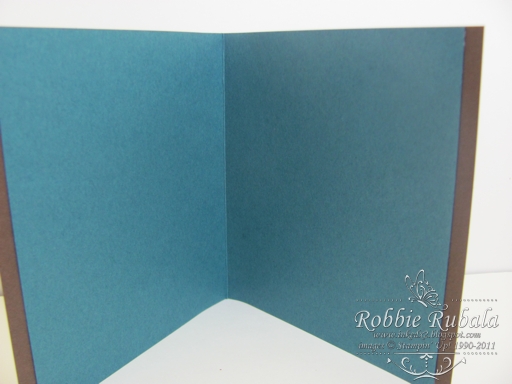
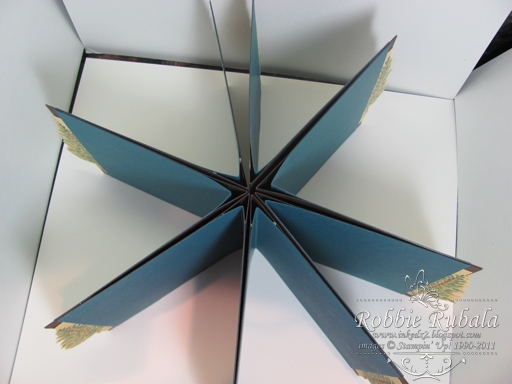
Here is what the album looks like opened. You can see the front and back minus the covers as they are the 2 that are not joined at the top of the photo.
I can’t wait to get my paper and pictures and finish this. Thanks for looking and have a Sensational Sunday!
Robbie