Good Morning Ladies ~ I have a sponged scene I created for the Delightful Daisy stamp set up today.
Before we begin I have a cute saying I ran across and thought I would pass along to you.

This is so true as who wants to clean when you can play with your stamps and ink!
Well Michaela arrived last night. Jess picked her up and then they went out to dinner. They did not get home until late so I am sure we will spend some time chatting today. Because she was coming in I spent some time playing yesterday so I would have cards for the next few days.
Did you ever have one of those days? I was in my craft room really focusing on my card and this happened.

This was my container of clear embossing powder. I dumped the whole container on the floor. I tried to pick up some of the powder to at least get me through until I can order some more. So I had to take some play time to clean up my mess!
There is a lady in one of my Facebook groups who’s cards I think are fabulous! She does a lot of watercoloring on her cards and they are truly works of art. I decided to check out her blog and find some of her cards to see what I could do with the same idea. Here is one card that was created by Birgit Edblom

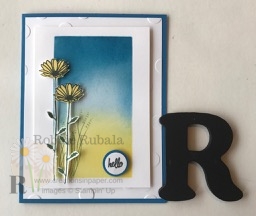
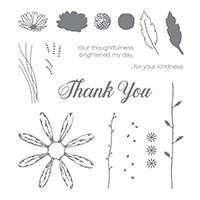
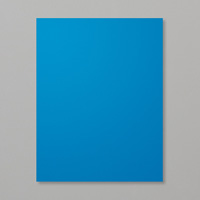
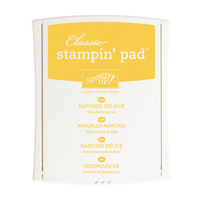
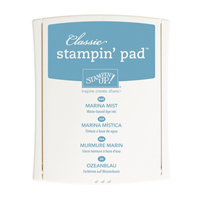
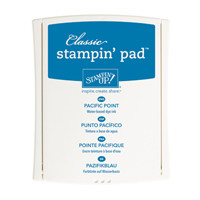
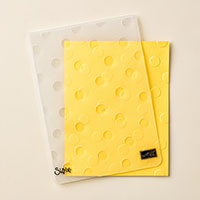
I decided to see if I could create my version of her card. I could not tell if she sponged the background or used watercolors. I am thinking she sponged it as it is not watercolor paper. So my first task in C.A.S.E.ing her card was to create my sponged scene. I cut a stencil to use for my sponging. I attached this to a piece of Whisper White card stock that was larger than the stencil. I then began sponging on my ink. I used Marina Mist first and sponged from the sides in towards the center. When I had enough down, I added some Daffodil Delight at the bottom. To finish off the sponging I used some Pacific Point around the upper edges. I then stamped my daisy and fussy cut it out. My sentiment was stamped and I punched it out with a 5/8″ circle punch and mounted it onto a 3/4″ circle I punched from Pacific Point. My Whisper White layer was embossed with the Polka Dot basics embossing folder and then added to a Pacific Point card base. The sponged layer was attached to the card front using dimensionals. The flowers were then added using dimensionals and mini dimensionals. To finish off my card I added the sentiment with dimensionals. Here is my version of Birgit’s card.
inside of card and envelope

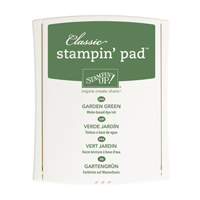
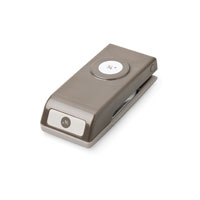
Stampin’ Up supplies used for my creation
Thanks for visiting me today and I hope I inspired you. So what do you think of my version of Birgit’s card? Did I do as well as she does, well maybe not but hopefully I am close. Have a Super Saturday and pull out your sponges and try a Sponged Scene!

