Happy Friday Everyone ~ wait until you see my Stamped Punched Flower Card idea!
I went to the Newcomer’s group meeting last night. It was interesting and I did join the group for the year. They have a lot of different groups you can join. I put my name down for the crafter’s group and will see what else I might want to do. I will give it a try as this is way out of my comfort zone. Yesterday I managed to get my bathroom cleaning done. I will need to dust today but that won’t take long. Bijou also had a spa day and the guy came to look at my thermostat. It may be set now so that it does not revert to the settings before I moved in. I hope it maintains the temperature I set up. Time will tell. I had to run to the recycling center to get rid of the box my porch furniture came in. When I got back Barb and Doug came over and Doug hung my toilet paper holder, my stick vac, and the fire extinguisher they gave me. Barb helped me set up my furniture using the rugs I had. My Great Sunroom is taking shape! I am going to see if I can find some of my decorations in the bins so I can add some little touches.
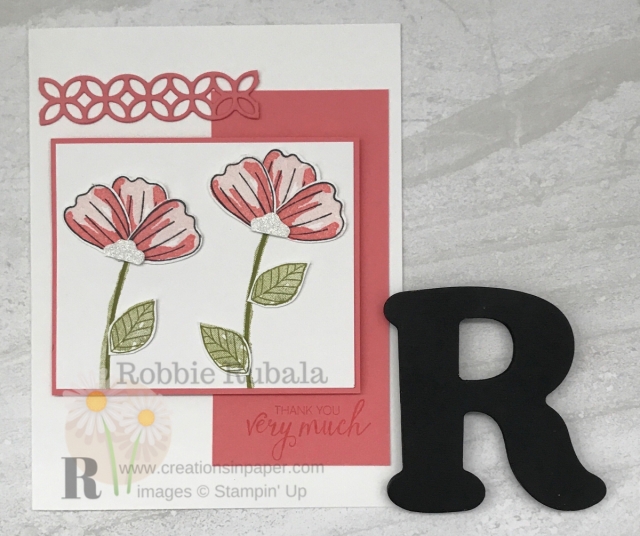
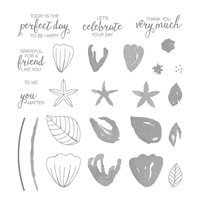
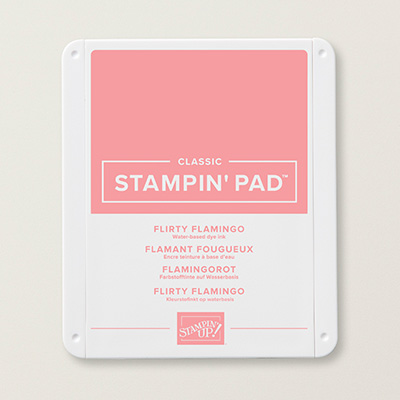
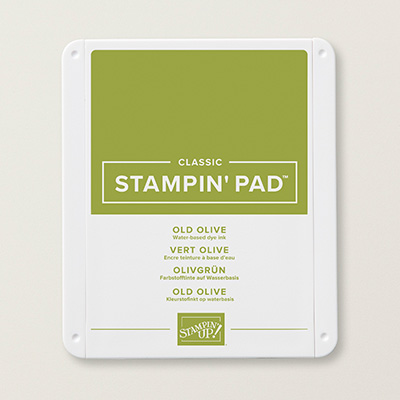
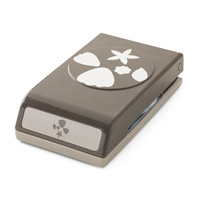
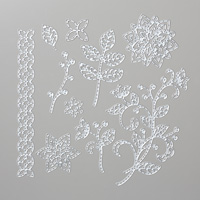
Today’s card uses the Bunch of Blossoms stamp set and coordinating punch. I began my stamping the full image with a second generation stamping using Flirty Flamingo. The next stamp was the partial petal and used the same ink full strength. The final stamp was the outline which was stamped using Memento Tuxedo Black ink. I stamped 6 of the petals. The coordinating punch was used to punch out all the petals. Glue dots were used to put the flower together by putting one petal in the middle and then another petal on the left side and the last petal on the right side. The punch was used along with some Sparkle glimmer paper to punch the small wavy flower. I cut the flower in half and added it to the bottom of the flower to cover up the where the petals join. To create the leaves, I used the solid image and Old Olive ink to do a second generation stamping. The outline image was stamped full strength using Old Olive. This was done 3 times and then the leaves were fussy cut. A piece of Whisper White was cut to 2 3/4″ x3 3/8″. The stem from the set was stamped using Old Olive and the highlighting stem image used the same ink also. The flowers and leaves were added to the stem using glue dots. This panel was added to a Flirty Flamingo panel. To prepare the card base, a piece of 2″ x 4 1/4″ Flirty Flamingo was stamped with the sentiment at the bottom using the same ink. This panel was added to the right hand side of the card base making sure it was centered top and bottom. The flower panel was then added using dimensionals again making sure it was centered top and bottom. To finish off the card, a strip from the Flourish thinlits was cut from Flirty Flamingo and added using Multipurpose Liquid Glue to the top of the card. Here is the completed Stamped Punched Flower Card.
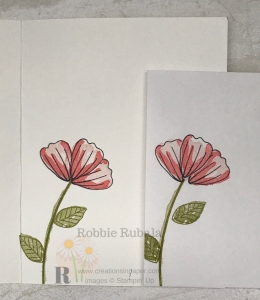
inside of card and envelope
Stampin’ Up supplies used for my creation

