Stampin’ Up Awesome Otters Childrens Valentine
Hello Everyone – my Valentine share today is made for the kids in your life and the Stampin’ Up Awesome Otters Childrens Valentine is one idea.
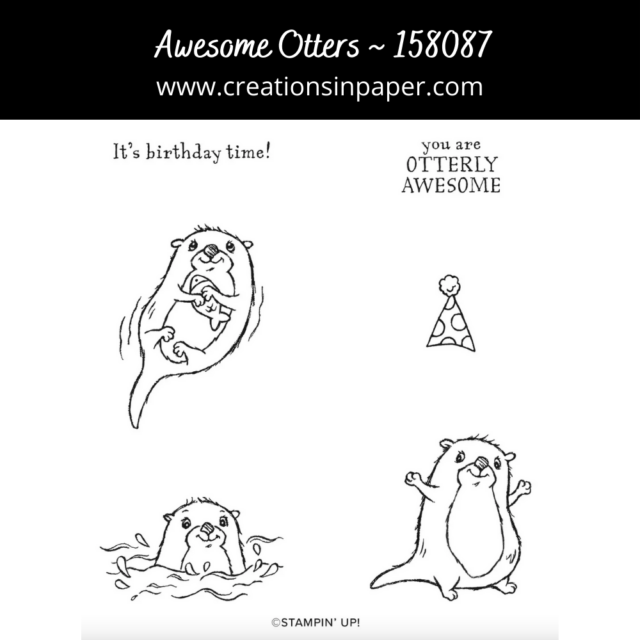
My grandkids love getting cards from me. That means I am always looking for stamp sets I can use for their cards. The Awesome Otters Sale-a-bration stamp set is a great set for them. Jake is into animals and I decided to use one of the images in the set for his card.

The Awesome Otters Sale-a-bration stamp set has some great images. The best part is you can get it free with a qualifying order.

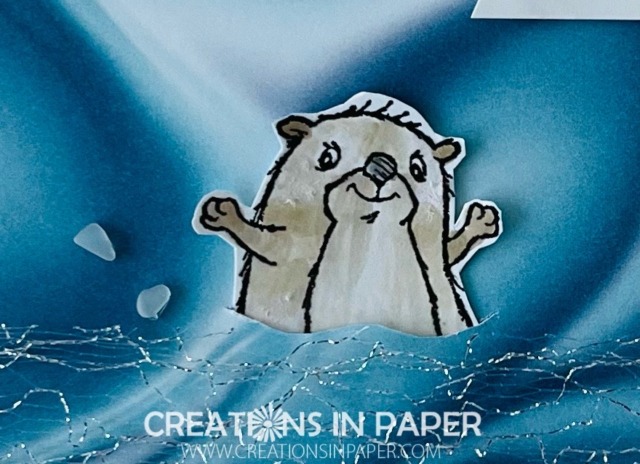
That cute otter with the outstretched arms was perfect for what I wanted to do! I wanted him in the water peeking out so I had to cut the paper and insert the otter in the opening. The Metallic Mesh ribbon is perfect for adding some sparkle to the water. All it needed was some faux sea glass and a sentiment.
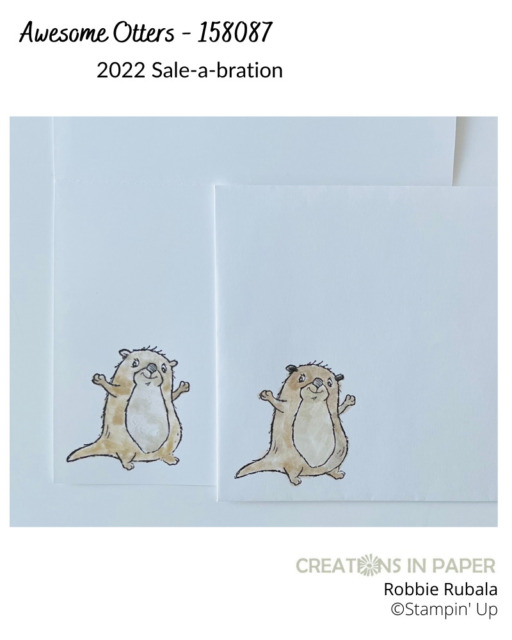
I used the same otter for the inside of the card and envelope. I colored it using Blender Pens and ink on a block. Here is what I did.

Here is a close up of the otter with the Metallic Mesh ribbon and faux sea glass. Isn’t he just the cutest? You can also see how I cut the pattern paper to insert that cute otter into it.

We have a number of stamp sets that would make great kids Valentines. You could easily swap out the sentiment for Happy Valentines Day on this idea. And this adorable chick would make another great idea.
Measurements
Card Base: White 5 1/2″ x 8 1/2″ scored at 4 1/4″
Balmy Blue: 4″ x 5 1/4″
Simply Marbleous pattern paper: 3 7/8″ x 5 1/8″
White: scraps for stamping and die cutting
Step by Step to make the Stampin’ Up Awesome Otters Childrens Valentine
- fold and burnish the card base
- stamp the otter onto White card stock using Early Espresso ink
- use a blender pen and Crumb Cake ink to color the otter
- cut out the otter using your paper snips
- set the otter onto the Simply Marbleous pattern paper and mark on each side of the cut out
- use the craft knife to cut a wavy line in the pattern paper – see close up above
- insert the otter into the cut and adjust the cut if needed
- tape the otter on the back so it stays in place – I also added a glue dot on the back of the otter on the front
- glue the pattern paper to the piece of Balmy Blue
- cut a strip of the Metallic Mesh ribbon and attach it to the bottom of the Balmy Blue panel
- add the panel to the card base
- stamp the sentiment onto a strip of White using Balmy Blue ink
- punch each end of the strip using the Banners pick a punch
- add the sentiment to the card front using dimensionals
- sprinkle on the faux sea glass shapes
January Host Code: BWBA27TE
Use this host code when your order is under $150 and receive a free gift from me! If your order is over $150, please do not use this code, but you’ll still get the free gift.
***Make sure that you can see my name on the final checkout page listed as your Demonstrator when you order so that you know that you’re ordering with me and you’ll get my rewards!
Shopping cart for Stampin’ Up Awesome Otters Childrens Valentine
Product ListDo you send out Valentine’s cards? I have a few I send out but not many. I still have 1 more Valentine to share with you on Friday. Come back to see it.
Thanks for visiting me today and I hope you enjoyed the Stampin’ Up Awesome Otters Childrens Valentine. Have a Wonderful Wednesday!


