
Hello Everyone ~ Are you addicted to Pinterest?
I did some organizing yesterday. I have a ton of cards all over my room. I bought a container to put them in. So yesterday I took a bunch and found the matching envelope. Then I stamped the back and put them in a clear cello envelope. Then I put them in the container and they are now ready to cycle out when I sell them. I also worked on the Suite Envy class I have in 2 weeks. I need to get the project made so I can photograph them and send out the announcement. In the afternoon I had a workshop. Today I have my coaching call in the morning and then nothing the rest of the day so I am going to make a few appointments and work on my Suite Envy class. What plans do you have for today?
Our Coloring Down the Lines blog hop has a Pinterest challenge this time. We were to find something on Pinterest and C.A.S.E (Copy And Share Everything) it.

I started checking out all the projects on Pinterest. I saw several that I noted. When I was finished I went back and narrowed it down and finally decided on this project from Becky Roberts at Inking Idaho
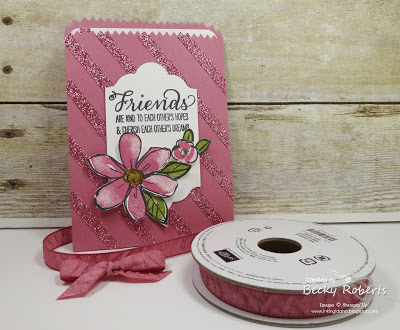
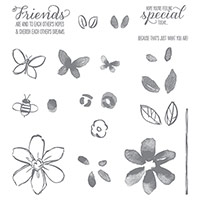
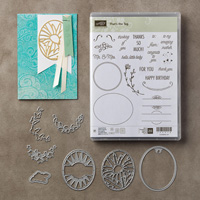
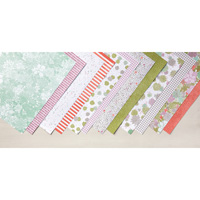
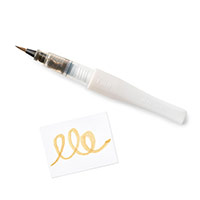
She had used card stock to make her bag. I opted to use some of the Succulent Garden dsp. I cut my bag out of the dsp and put it together. Then I needed to address the center panel. The That’s Tag bundle was perfect for my bag. The outline was stamped and then it was cut out. I stamped the sentiment inside. The tag was added to my bag using dimensionals. I used some of the Sweet Sugarplum sparkle ribbon from the Holiday catalog to tie a bow and add to the top to hid the hole the tag cut. Using the Garden in Bloom stamp set I stamped the large flower and leaves as well as the small flower and leaves and fussy cut them out. The leaves were added to the flowers using glue dots and the center of the flower was colored with the Gold Wink of Stella. The flowers were added to the tag using dimensionals.
Now I needed to do the inside note card. I cut my card stock and rounded the corners. I stamped the flower in the lower right hand corner and colored it like the one on the front. I added a strip of the glitter ribbon down the left hand side. My note card was complete. Here is my version of the note card pocket.
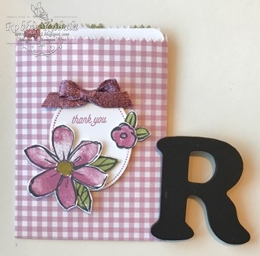
inside card

Stampin’ Up supplies used for my creation


Are you ready to check out what the other ladies found on Pinterest to C.A.S.E.? Check out Amanda’s blog – Our Crafty Playdate to see what she found and how she addressed it.
Thanks for visiting me today. I need to make some cards to share with you the rest of the week. If there is something you want me to make or a video you would like to see let me know. Have a Wonderful Wednesday and don’t spend all your time on Pinterest!
Robbie
Great job, Robbie. Your CASE is spot on. I love these gift bags, and you can use them for gifts, cards, make into an open ended box, just about anything you can think up. Hugs.