Stampin’ Up Pretty Prints in Shaded Spruce
Hello Everyone – the Stampin’ Up Pretty Prints in Shaded Spruce was fun to make.
Cards with lots of interest and texture do not have to be complicated! I love the Pretty Prints pattern paper and it goes so well with the Fern 3D embossing folder. Pull out your paper and get ready to make this card!
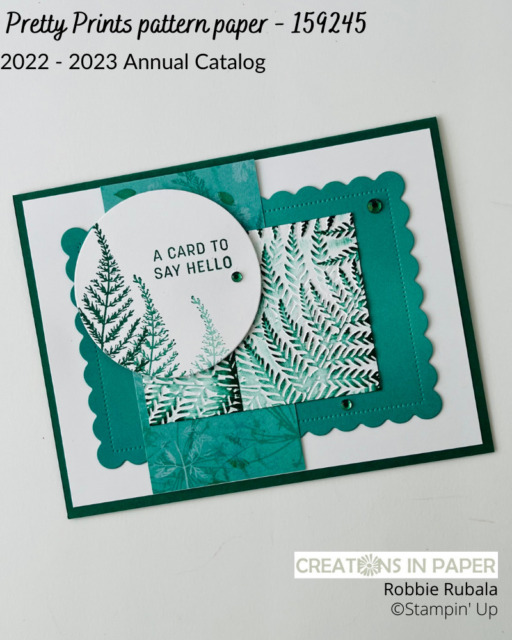
The Pretty Prints pattern paper has gorgeous patterns and colors and add just the right interest to your cards.

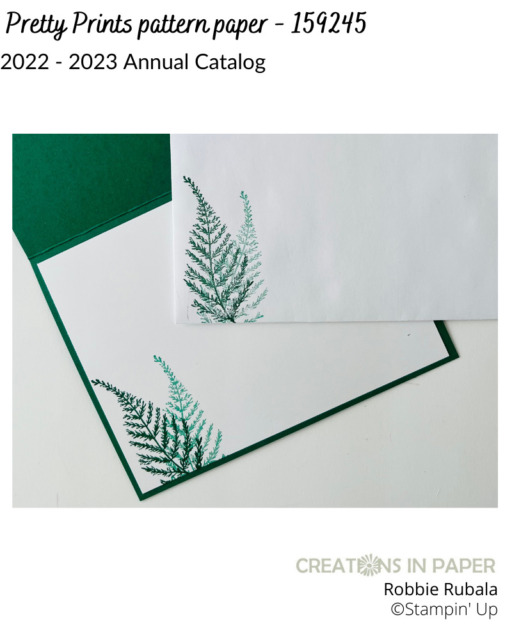
I know that the Sun Prints Suite was not designed to go with this paper but I am finding the bundle and embossing folder are a good match for this paper. I used the fern stamp in the Nature’s Print stamp set to decorate the inside of the card and to mimic the stamping on the card front.
Check out the texture and interest I created with this close up of a portion of the card front.

I know you have some of these products so don’t miss these other ideas I created. Did you see this idea where I used the pattern paper with the Color & Contour products? This idea was inspired by a card in the catalog that caught my eye. I just had to try that fun frame!
Ready to make this card? Grab your supplies and have fun!
Measurements
Card Base: Shaded Spruce 5 1/2″ x 8 1/2″ scored at 4 1/4″
White: 4″ x 5 1/4″ and 2 1/4″ x 3″ and scrap for stamping and punching
Pretty Prints pattern paper: 3 1/2″ x 4 3/4″ – the solid green paper and 2″ x 4″ – the paper with the dandelion looking images
Step-by-step for the Stampin’ Up Pretty Prints in Shaded Spruce
- fold and burnish the card base
- add the large White panel to the card front
- use the next to the largest Scallop Contour die to cut out the rectangle from the plain pattern paper
- glue the scallop rectangle to the card front centering it on all sides
- add the strip of pattern paper to the card about 3/4″ from the scallop edge panel – see photo above
- take the Fern 3D embossing folder and emboss the smaller rectangle
- using your Shaded Spruce ink pad gently swipe it across the embossed panel to add color – Note: do not press hard to avoid coloring the background of the embossed panel. See photo above.
- attach the panel to the card front using Tear & Tape and centering it on the scallop rectangle – see photo above
- use the sentiment from Sending Smiles and with a post-it note mask off the last 2 words and ink it up with Shaded Spruce, remove the post-it note then stamp in onto a scrap of White
- clean the stamp really well and dry it, when it is dry mask off the words you have already stamped with the post-it note and ink up the rest of sentiment, remove the post-it note and stamp the inked words under the ones you have already stamped – Note: this is easy to do since the stamp is photopolymer and you can see where you are stamping. See photo above.
- take the fern from the Nature’s Prints stamp set and using Shaded Spruce stamp it to the left of the sentiment, then without reinking the image stamp it again a little lower than the first, and stamp again a little lower – see photo above
- cut out the image using the Layering Circle die that is about 2 1/2″
- add the circle to the card front in the upper left hand corner using dimensionals – see photo above
- use the Shaded Spruce blends to color some rhinestones then sprinkle onto the card front
June Host Code – WHYFJK76
Use this host code when your order is under $150 and receive a free gift from me! If your order is over $150, please do not use this code, but you’ll still get the free gift.
***Make sure that you can see my name on the final checkout page listed as your Demonstrator when you order so that you know that you’re ordering with me and you’ll get my rewards!
Shopping cart for today’s creation
Product List")
")


 Designer Series Paper")


Do you mix and match your products? I love doing that as it really extends the use of my stash. As you can see from the Stampin’ Up Pretty Prints in Shaded Spruce card I used 5 different products and they all went together for a beautiful card.
I hope I have inspired you to mix and match your products. Have a Wonderful Wednesday!
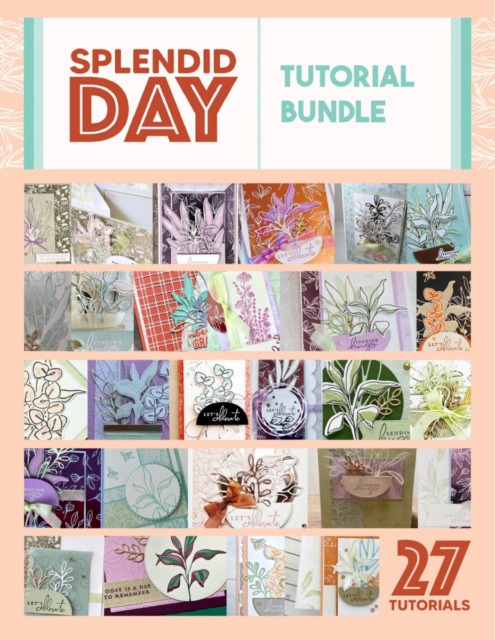
Splendid Day Bundle Mega Tutorial
July Host Code
Welcome to The Craft Room – looking for ideas? Click the link below to get all the details and sign up.