Hello Everyone ~ wait until you see what I created with the Stampin’ Up Watercolor Pencils for the blog today!
It seems like whenever I have a long list of things to get done I never accomplish much on it. I was busy in the morning with my walk, water aerobics, and a conference call. I had to go pick up some supplies for an upcoming class which I had not planned on. After I got back from that I did manage to make my cards for my card class. So that means today I need to make the cards for my Christmas stamp-a-stack and start to work on some cards for the blog next week. I also still need to continue reading my book and working on Michaela’s blankets. Busy, busy, busy!
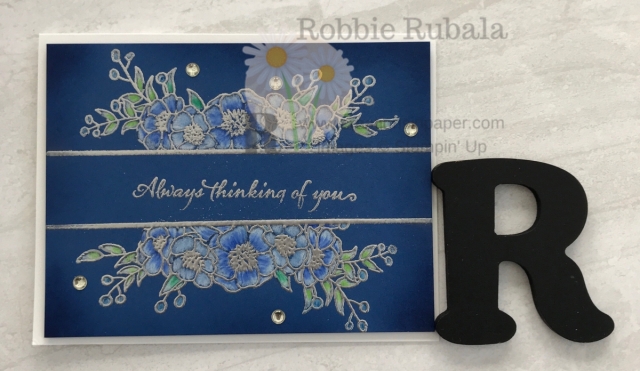
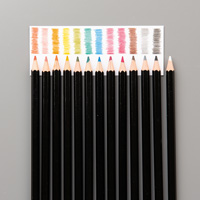
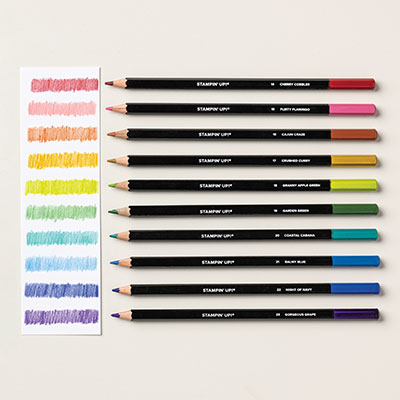
I saw a gorgeous card online from another company and decided to recreate it using our supplies. The original card was blue with an embossed image then colored with colored pencils. There was a sentiment across the middle. To recreate the look, using the 4″ x 5 1/4″ panel of Blueberry Bushel I measured in on the long side 1 1/2″ and marked it at both ends. I then flipped the card around and repeated the same procedure on the other long side. I have a Versamark pen so I drew I line along the long side using the measured marks to get a straight line. I then added some Silver embossing powder and heat set it. This procedure was repeated on the other side. This gave me the spot for my sentiment. I stamped the sentiment from Very Versailles in the center of the embossed section with Versamark, added Silver embossing powder, and heat set it. Once I had the sentiment section completed, I was ready to work on the top and bottom sections. The original card had a flower spray so I chose to use Bloom and Grow for my card. I stamped the image at the top of the panel using Versamark, added Silver embossing powder, and heat set it. I repeated this procedure on the bottom of the panel making sure to stamp the image so the bottom of the image was the same next to the horizontal embossed line. Now that I had the images embossed, I was ready to color it. I pulled out the Stampin’ Up watercolor pencils and began coloring the image using the Whisper White pencil. After I had colored the entire image with the white I then went back and began coloring each image individually. I colored the larger flowers with the Pacific Point and the smaller flowers with the Balmy Blue. I used a flicking motion from the center out so that the edges stayed white. When I finished the flowers, I did the berries using the Old Olive pencil. The leaves were then colored with the Granny Apple Green pencil using the same flicking motion as used on the flowers. Now that one image was completed, I followed the same procedure for the other image. Once the coloring was done, I then used the blending brushes and added some Blueberry Bushel ink around the edges. Since the panel is now colored, I used Stampin’ Dimensionals to attach it to a Whisper White card base. To finish the card, I added some of the Clear Epoxy drops. While working on this card I did learn a few things. The more white you add the better. I don’t know if it was my pad, embossing powder, or heating tool but in a couple of spots while I was coloring, the embossing came off. If this happens, you can use a Silver Chalk marker to fill in the areas where it came off. Here is the completed Stampin’ Up Watercolor Pencils creation.
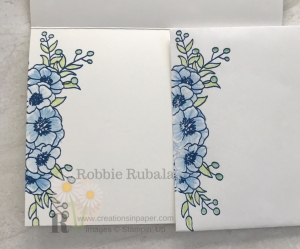
inside of card and envelope
If you loved this idea, you have got to see some of my other colored pencil posts. Check out the Remarkable You idea that is an easy coloring project. Here is another idea using the same stamp set. And make sure you look at this idea using Beautiful Day where I colored on black card stock.
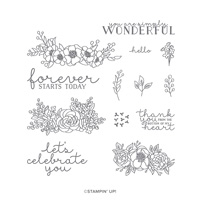
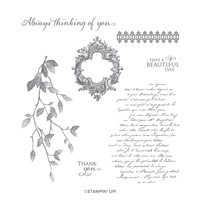
Stampin’ Up supplies used for my creation








This is my all time favorite card of yours!!!! It is absolutely gorgeous. I will definitely try this and now I want the stamp set!
Thanks Barb! I love this stamp set. I want to do this in Blackberry Bliss just to see what it looks like.