Blending Ink For a Background
Happy Friday Everyone – have you tried Blending Ink for a Background with Blending Brushes?
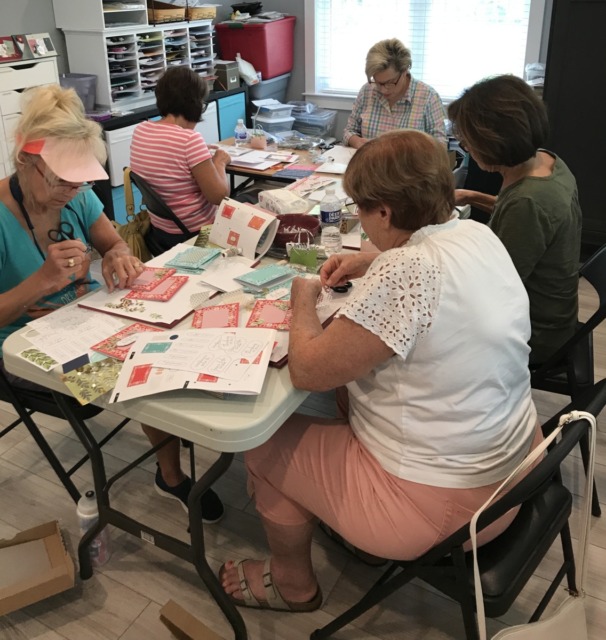
I had a beginner’s class yesterday and the ladies had a great time. They each chose the kit they wanted to work on and it was great to see all the different designs from the kits. I can’t wait to see which kits they choose next month! Here is a photo of the ladies hard at work.

Last week I did a post about ink blending and talked about the different ways to blend ink. Earlier this week I shared how to blend using sponges and the daubers. Today’s card uses the Blending Brushes.
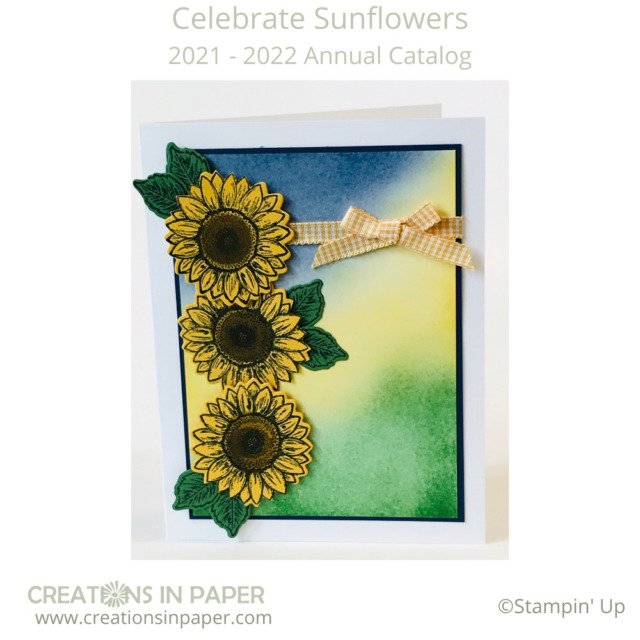
I love the soft look you can get with the Blending Brushes. There are some tips to get a smooth look. You have to use a light hand as well as blend a lot in the areas where the 2 inks meet for smooth transition. I switched back and forth between the 2 colors quite a bit to work on getting a good blend. I find the best way is to just play with the blending until you are happy with it.
I chose the colors that I did for a reason. I wanted a green for the ground/grass. Then I thought of a yellow to be the sun rising. And finally a blue for the sky. The blue I originally chose did not have enough contrast so I went with Night of Navy and just used a light hand to not get it too dark. Here is my Blending Ink for a Background creation.


This card uses some die cuts to create a fun ink blended background. If you struggle with ink blending, choose 1 color to use for your background like I did for this pretty pink card.
Shopping Cart
To order the supplies I used for my card, click the image below. Don’t forget to use the host code to get a special thank you from me.
Product ListThanks for visiting me today and I hope I inspired you to try Blending Ink to create a background. Make sure you share it with me as I would love to see what you created. Have a Fabulous Friday!


